-
Products
Overview Products
-
2D Cutting
-
Tube Cutting
-
3D Cutting
-
Intelligent Welding
-
Intelligent Cutting Head
-
Industrial Automation
-
Industrial Software
-
Combination
-
Combination
BOCHU New Product -
Combination
BOCHU New Product -
Controller
BOCHU New Product -
2D Cutting Head
Tube Cutting Head
3D Cutting Head
Consumables
BOCHU New Product -
Servo
BOCHU New Product -
Industrial 4.0
-
- Support
- About
- Online Store


- Software Download
- Manual
- Video
- Tutorial
I. Introduction
When the parts are arranged for nesting, you can first rotate the parts to the appropriate direction, in the automatic nesting, you can also adjust the position of the parts before and after the nesting, or rotate the parts. This article will introduce the operation method in detail.
Ⅱ. How to use
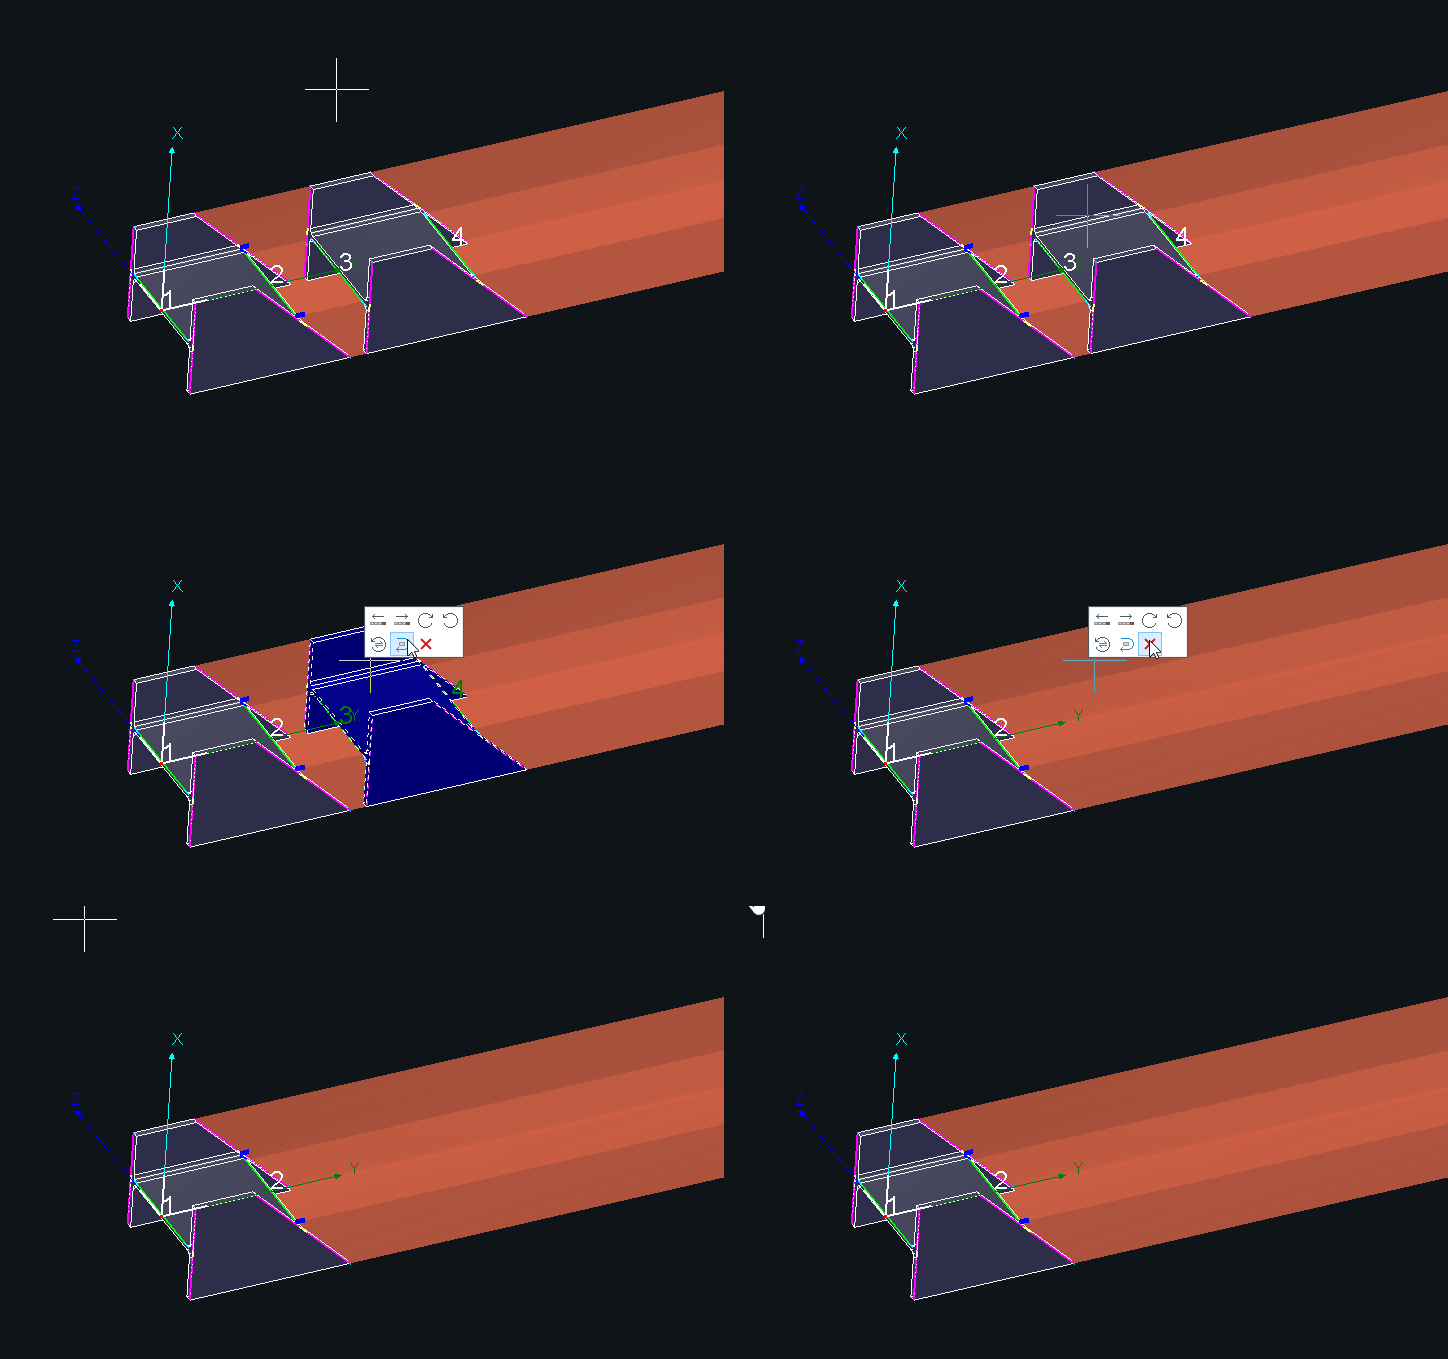
1. Effect Demonstration
| Move Forward and Backward | 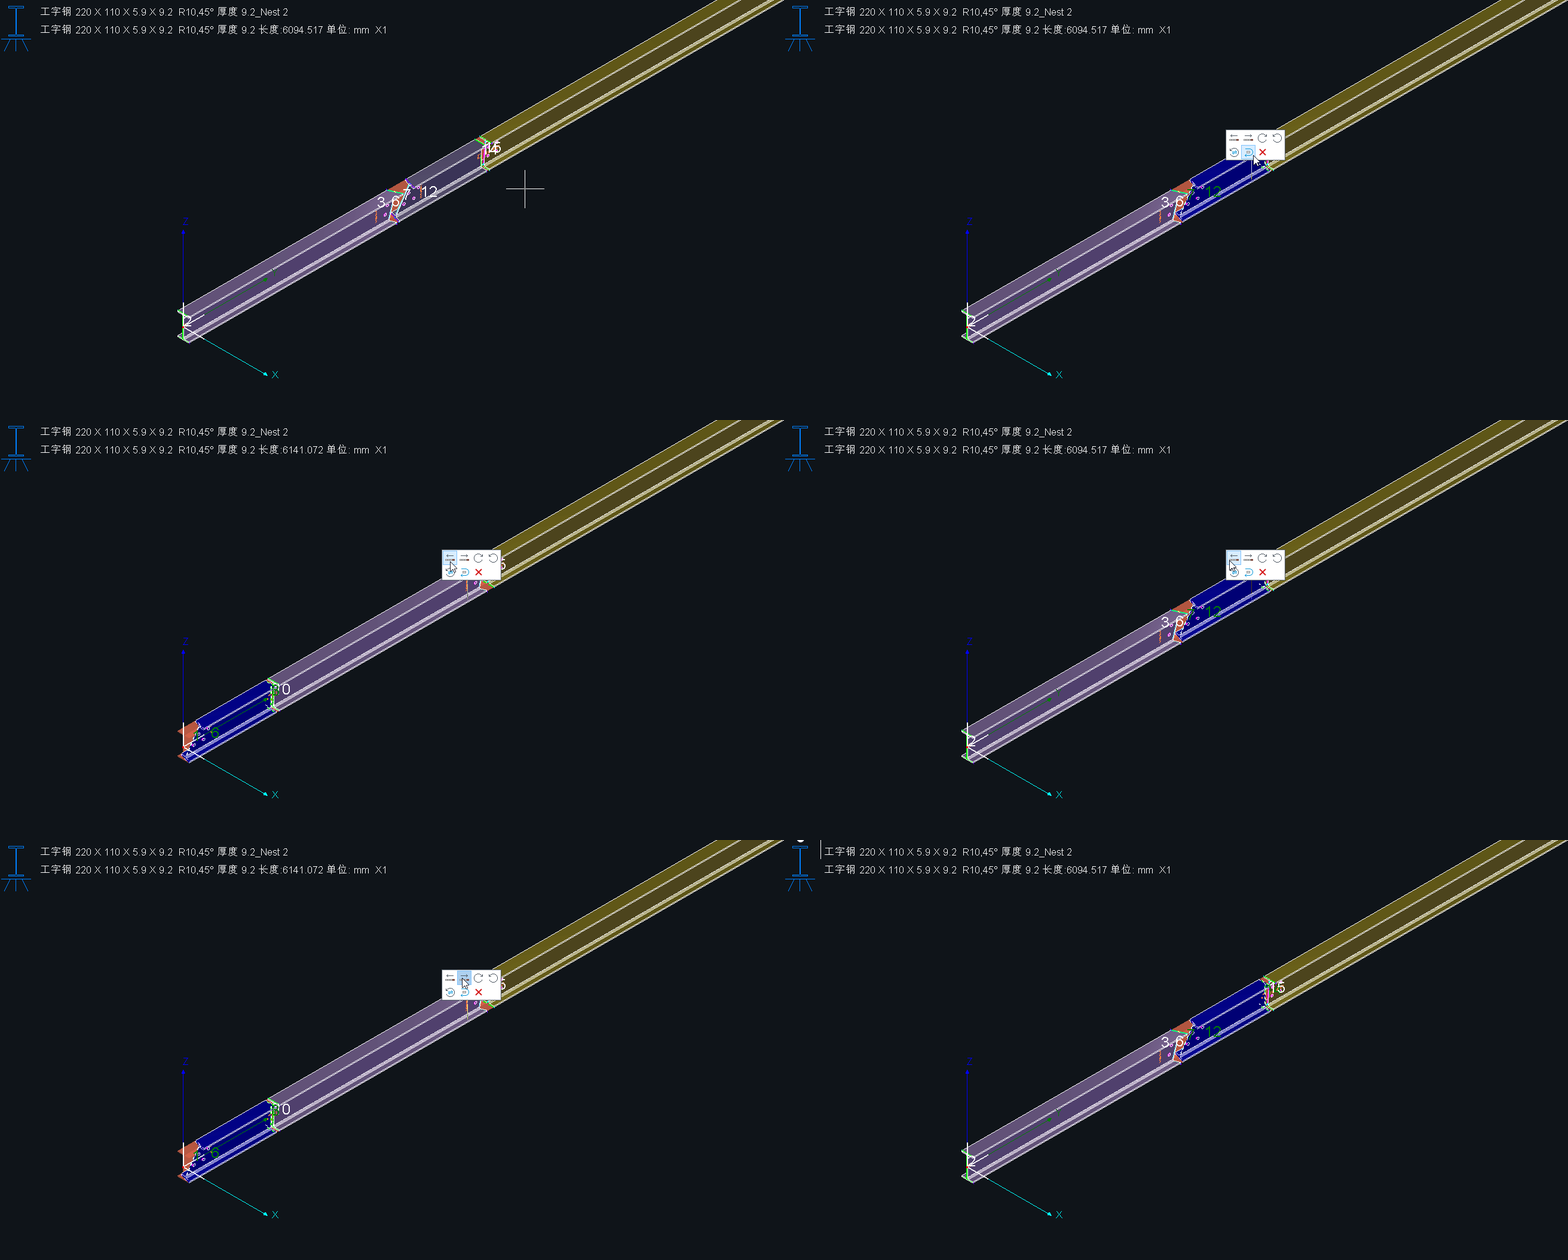 |
| Part Reversal |
Part rotation around Z-axis |
| Part Rotation |
Part rotation around Y-axis |
| Part Rotation Plus Reverse |
Part rotation around Y-axis |
| Delete Part |
|
2.Cases
(1) Adjusting the Orientation of Individual Parts Before Nesting:
① First adjust the parts to the desired orientation, then use 【Manual Nesting】to achieve a customized nesting result.
② First adjust the parts to the desired orientation, then use Automatic Nesting with the 【Disable Rotate】option checked to achieve a customized nesting result.
(2) After nesting, you can adjust the orientation of individual parts within the nesting results to fine-tune the outcome.
If the adjustment causes the layout to exceed the pipe length, the software will pop up a warning indicating that the nesting has overflowed.
-
- Note:
- If the remaining length is ≤ -0.1mm, the software considers it within the allowable range and allows normal export.
- If it’s beyond the allowable range, it will be marked in red. If your nesting result is marked in red, please contact the community support staff for assistance.
- Note:
I. Introduction
When the parts are arranged for nesting, you can first rotate the parts to the appropriate direction, in the automatic nesting, you can also adjust the position of the parts before and after the nesting, or rotate the parts. This article will introduce the operation method in detail.
Ⅱ. How to use
1. Effect Demonstration
| Move Forward and Backward |  |
| Part Reversal |
Part rotation around Z-axis |
| Part Rotation |
Part rotation around Y-axis |
| Part Rotation Plus Reverse |
Part rotation around Y-axis |
| Delete Part |
|
2.Cases
(1) Adjusting the Orientation of Individual Parts Before Nesting:
① First adjust the parts to the desired orientation, then use 【Manual Nesting】to achieve a customized nesting result.
② First adjust the parts to the desired orientation, then use Automatic Nesting with the 【Disable Rotate】option checked to achieve a customized nesting result.
(2) After nesting, you can adjust the orientation of individual parts within the nesting results to fine-tune the outcome.
If the adjustment causes the layout to exceed the pipe length, the software will pop up a warning indicating that the nesting has overflowed.
-
- Note:
- If the remaining length is ≤ -0.1mm, the software considers it within the allowable range and allows normal export.
- If it’s beyond the allowable range, it will be marked in red. If your nesting result is marked in red, please contact the community support staff for assistance.
- Note:


