

-
Products
Overview Products

-
2D Cutting
-
Tube Cutting
-
3D Cutting
-
Intelligent Welding
-
Intelligent Cutting Head
-
Industrial Automation
-
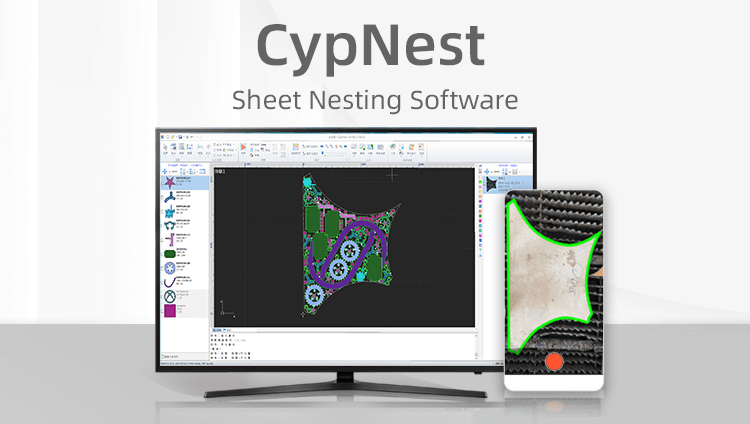
Industrial Software
-
Combination
-
Combination
BOCHU New Product -
Combination
BOCHU New Product -
Controller
BOCHU New Product -
2D Cutting Head
Tube Cutting Head
3D Cutting Head
Consumables
BOCHU New Product -
Servo
BOCHU New Product -
Industrial 4.0
-
- Support
- About
- Online Store


- Software Download
- Manual
- Tutorial
- CloudNest
Function Description
There are two situations need setting the lines or text on the parts on the marking layer:
-
The marking lines in the drawing has been already differentiated using different colors or different layers in CAD;
-
The contents to be marked in the drawing are not distinguished;
Steps of Operation
1. Layer Mapping:
CAD has already set different colors or layers.

(1) Open the nesting interface, click [Import Parts from Drawings], and do not check [Direct access]


(2) Enter the "Pre-processing interface, click [Layer Mapping] to set Mapping Mode:

-
By Color
Choose By Color in the Layer Mapping, select the corresponding color's process type as needed, including Production 1, Production 2, Production 3, Not Cut, Delete and Marking, click apply.

-
By Layer
Choose By Layer in the Layer Mapping, select the corresponding layer's process type according to needs, including Production 1,Production 2, Production 3, Not Cut, Delete and Marking, click apply.

-
Mixture
Choose Mixture in the Layer Mapping, select the corresponding color and layer's process type as needed, including Production 1, Production 2, Production 3, Not Cut, Delete and Marking, click apply.

Notes: In Mixture, the color priority is greater than the layer, and the priority decreases from top to bottom. When there are overlapping parts between different entries, mapping will be based on the rule with the higher priority.
2. Manual setting:
When the drawing are not distinguished by colors or layers, the Layer Mapping in 'Pre-Processing' interface will not work; Or when you has import the drawings, but you need to change the layers of lines, you can set the layer in Drawing Processing interface.

(1) When entering the Drawing Processing interface, you can automatically filter lines or contours based on the [select] of the top left corner. First, filter the contours you need to set, then select the corresponding layer in the right tool panel.
(2) We take marking as an example. First cut layer corresponds to the marking layer, with an effect shown in blue dashed line. You can use [select]-[select all inner contour] , and set those contours to first cut layer.


Tips: The first cut layer is for marking, the final cut layer is for residual lines, and the background layer is for not cut.
Function Description
There are two situations need setting the lines or text on the parts on the marking layer:
-
The marking lines in the drawing has been already differentiated using different colors or different layers in CAD;
-
The contents to be marked in the drawing are not distinguished;
Steps of Operation
1. Layer Mapping:
CAD has already set different colors or layers.
(1) Open the nesting interface, click [Import Parts from Drawings], and do not check [Direct access]
(2) Enter the "Pre-processing interface, click [Layer Mapping] to set Mapping Mode:
-
By Color
Choose By Color in the Layer Mapping, select the corresponding color's process type as needed, including Production 1, Production 2, Production 3, Not Cut, Delete and Marking, click apply.
-
By Layer
Choose By Layer in the Layer Mapping, select the corresponding layer's process type according to needs, including Production 1,Production 2, Production 3, Not Cut, Delete and Marking, click apply.
-
Mixture
Choose Mixture in the Layer Mapping, select the corresponding color and layer's process type as needed, including Production 1, Production 2, Production 3, Not Cut, Delete and Marking, click apply.
Notes: In Mixture, the color priority is greater than the layer, and the priority decreases from top to bottom. When there are overlapping parts between different entries, mapping will be based on the rule with the higher priority.
2. Manual setting:
When the drawing are not distinguished by colors or layers, the Layer Mapping in 'Pre-Processing' interface will not work; Or when you has import the drawings, but you need to change the layers of lines, you can set the layer in Drawing Processing interface.
(1) When entering the Drawing Processing interface, you can automatically filter lines or contours based on the [select] of the top left corner. First, filter the contours you need to set, then select the corresponding layer in the right tool panel.
(2) We take marking as an example. First cut layer corresponds to the marking layer, with an effect shown in blue dashed line. You can use [select]-[select all inner contour] , and set those contours to first cut layer.
Tips: The first cut layer is for marking, the final cut layer is for residual lines, and the background layer is for not cut.

