

-
Products
Overview Products

-
2D Cutting
-
Tube Cutting
-
3D Cutting
-
Intelligent Welding
-
Intelligent Cutting Head
-
Industrial Automation
-
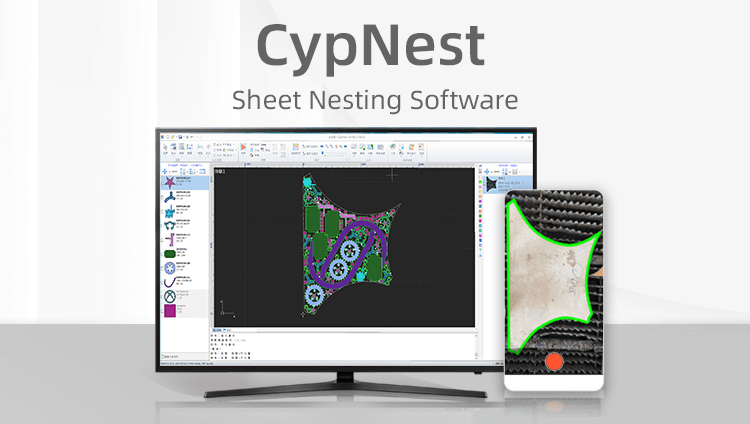
Industrial Software
-
Combination
-
Combination
BOCHU New Product -
Combination
BOCHU New Product -
Controller
BOCHU New Product -
2D Cutting Head
Tube Cutting Head
3D Cutting Head
Consumables
BOCHU New Product -
Servo
BOCHU New Product -
Industrial 4.0
-
- Support
- About
- Online Store


- Software Download
- Manual
- Tutorial
- CloudNest
Function Description
If you want to disable the cutting of part outlines after importing parts, the following two methods are available: Align and Handle in the Part Editing interface.
Operation Methods
1.Align Function:
-
-
Click the Align button on the nest toolbar to activate it.
-
Drag and nest the part onto the plate.
-


The cutting software automatically sets coincident edges to be unprocessed.
-
- After setting Align, click Export Cutting File (Recommended) to export the file in .nrp or .nrp2 format.

-
-
Click Open in the top-left corner of the cutting software to load the file.
-

-
- When simulating in the cutting software, you can see that the coincident edge of the aligned part and the plate edge is not processed.

-
- Auto leadin and extend out of the plate is displayed as a knife in the cutting software.

2.Set After Nest:
-
- Nest the part onto the plate.

-
- Double-click the part to enter the Part Editing interface.

-
- Select the outer contour.

-
-
Click the white background layer.
-

-
- Click [OK] or [Apply All]

Function Description
If you want to disable the cutting of part outlines after importing parts, the following two methods are available: Align and Handle in the Part Editing interface.
Operation Methods
1.Align Function:
-
-
Click the Align button on the nest toolbar to activate it.
-
Drag and nest the part onto the plate.
-
The cutting software automatically sets coincident edges to be unprocessed.
-
- After setting Align, click Export Cutting File (Recommended) to export the file in .nrp or .nrp2 format.
-
-
Click Open in the top-left corner of the cutting software to load the file.
-
-
- When simulating in the cutting software, you can see that the coincident edge of the aligned part and the plate edge is not processed.
-
- Auto leadin and extend out of the plate is displayed as a knife in the cutting software.
2.Set After Nest:
-
- Nest the part onto the plate.
-
- Double-click the part to enter the Part Editing interface.
-
- Select the outer contour.
-
-
Click the white background layer.
-
-
- Click [OK] or [Apply All]

