

-
Products
Overview Products

-
2D Cutting
-
Tube Cutting
-
3D Cutting
-
Intelligent Welding
-
Intelligent Cutting Head
-
Industrial Automation
-
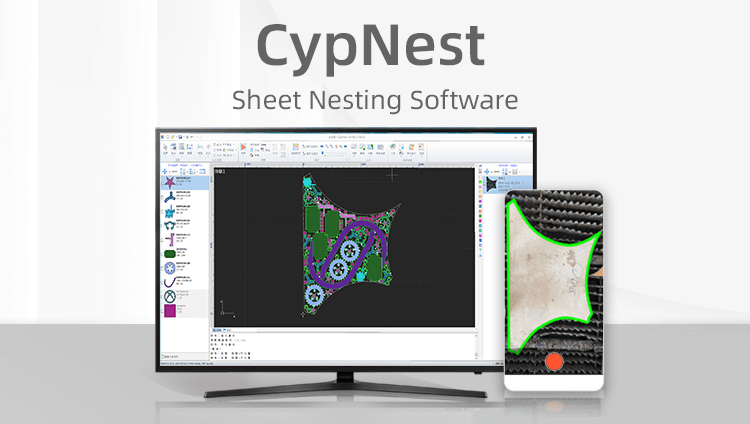
Industrial Software
-
Combination
-
Combination
BOCHU New Product -
Combination
BOCHU New Product -
Controller
BOCHU New Product -
2D Cutting Head
Tube Cutting Head
3D Cutting Head
Consumables
BOCHU New Product -
Servo
BOCHU New Product -
Industrial 4.0
-
- Support
- About
- Online Store


- Software Download
- Manual
- Tutorial
- CloudNest
Function Description
Operation Steps
1. Click "Align" at the top toolbar to activate it (it will light up when activated).

When "Align" is enabled, the option of "Auto leadin and extend out of the plate" is checked by default.

Check "Enable Align for Auto Nest", the plate margin will be ignored and the edges of the parts will coincide with the plate when auto nested.

Coincident edges are set as unprocessed automatically in the cutting software.


Function Description
Operation Steps
1. Click "Align" at the top toolbar to activate it (it will light up when activated).
When "Align" is enabled, the option of "Auto leadin and extend out of the plate" is checked by default.
Check "Enable Align for Auto Nest", the plate margin will be ignored and the edges of the parts will coincide with the plate when auto nested.
Coincident edges are set as unprocessed automatically in the cutting software.

