

-
Products
Overview Products

-
2D Cutting
-
Tube Cutting
-
3D Cutting
-
Intelligent Welding
-
Intelligent Cutting Head
-
Industrial Automation
-
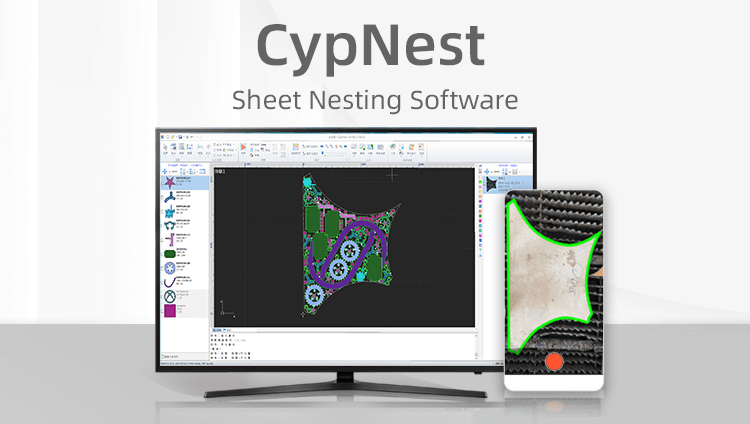
Industrial Software
-
Combination
-
Combination
BOCHU New Product -
Combination
BOCHU New Product -
Controller
BOCHU New Product -
2D Cutting Head
Tube Cutting Head
3D Cutting Head
Consumables
BOCHU New Product -
Servo
BOCHU New Product -
Industrial 4.0
-
- Support
- About
- Online Store


- Software Download
- Manual
- Tutorial
- CloudNest
Bind Machine Tool and Plan
- Planning: After the nest task is generated, go to the [Result] list, select the nest task, and click the [Planning] button to enter the "Select Machine Plan" box. After selecting the machine, click [Push All] to be able to Push the nesting task to CloudCut.
- Export: On the same page, click [Export] to import the nest task as an lxds file to the local. You can also click this drop-down button and choose to import to other formats [Export nrp (before CypCut731.5)].
- Marking: Automatically mark the nest tasks that have been planned and exported, [Exported] and [planned] to record the corresponding status.
Bind Machine Tool and Plan
29359view
- Planning: After the nest task is generated, go to the [Result] list, select the nest task, and click the [Planning] button to enter the "Select Machine Plan" box. After selecting the machine, click [Push All] to be able to Push the nesting task to CloudCut.
- Export: On the same page, click [Export] to import the nest task as an lxds file to the local. You can also click this drop-down button and choose to import to other formats [Export nrp (before CypCut731.5)].
- Marking: Automatically mark the nest tasks that have been planned and exported, [Exported] and [planned] to record the corresponding status.

