-
Products
Overview Products
-
2D Cutting
-
Tube Cutting
-
3D Cutting
-
Intelligent Welding
-
Intelligent Cutting Head
-
Industrial Automation
-
Industrial Software
-
Combination
Controller
-
Combination
BOCHU New Product -
Combination
BOCHU New Product -
Controller
BOCHU New Product -
2D Cutting Head
Tube Cutting Head
3D Cutting Head
BOCHU New Product -
BOCHU New Product
-
- Support
- About
- Online Store

- Software Download
- Manual
- Tutorial
- CloudNest
Function Description
If your part is a nc1 format file exported from Tekla, and part information needs to be obtained through Excel Specify the information in the table, and you can use the Excel batch Import nc1 function to import PartCloudNest.
Operation Steps
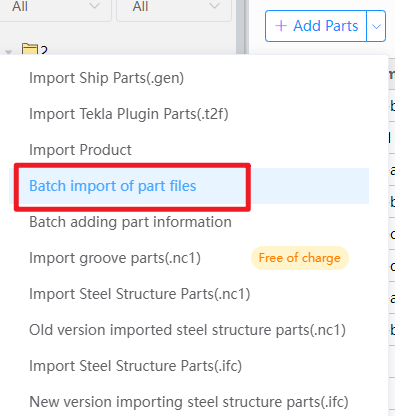
1. Click 【Add drop-down list】--【Batch Import of part files】
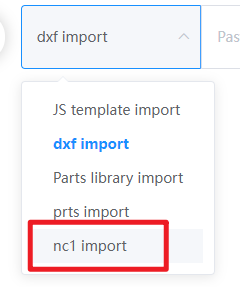
2.Type selection nc1
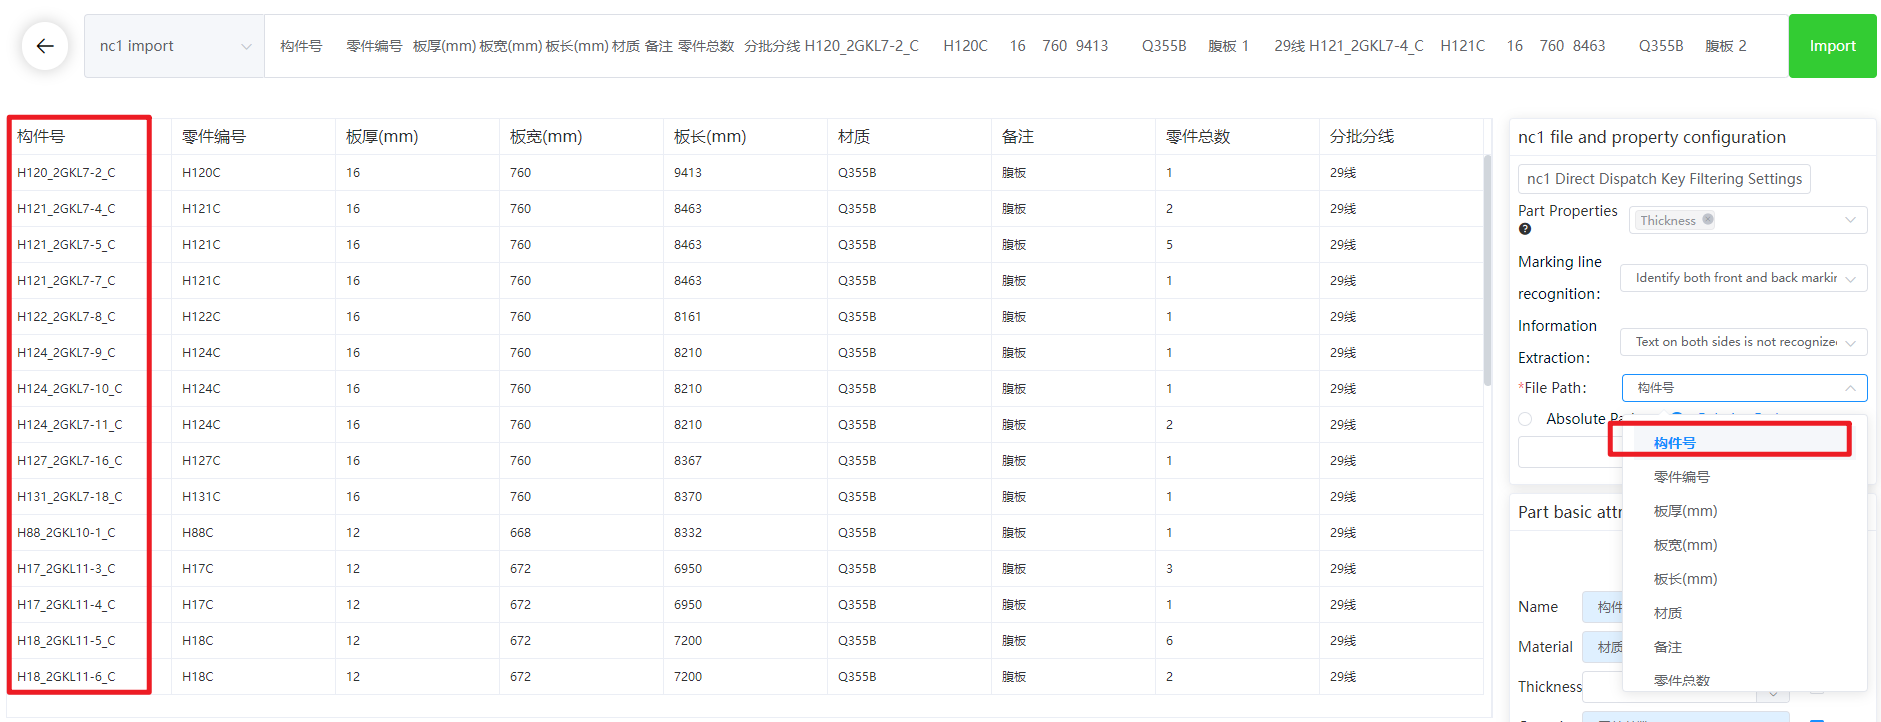
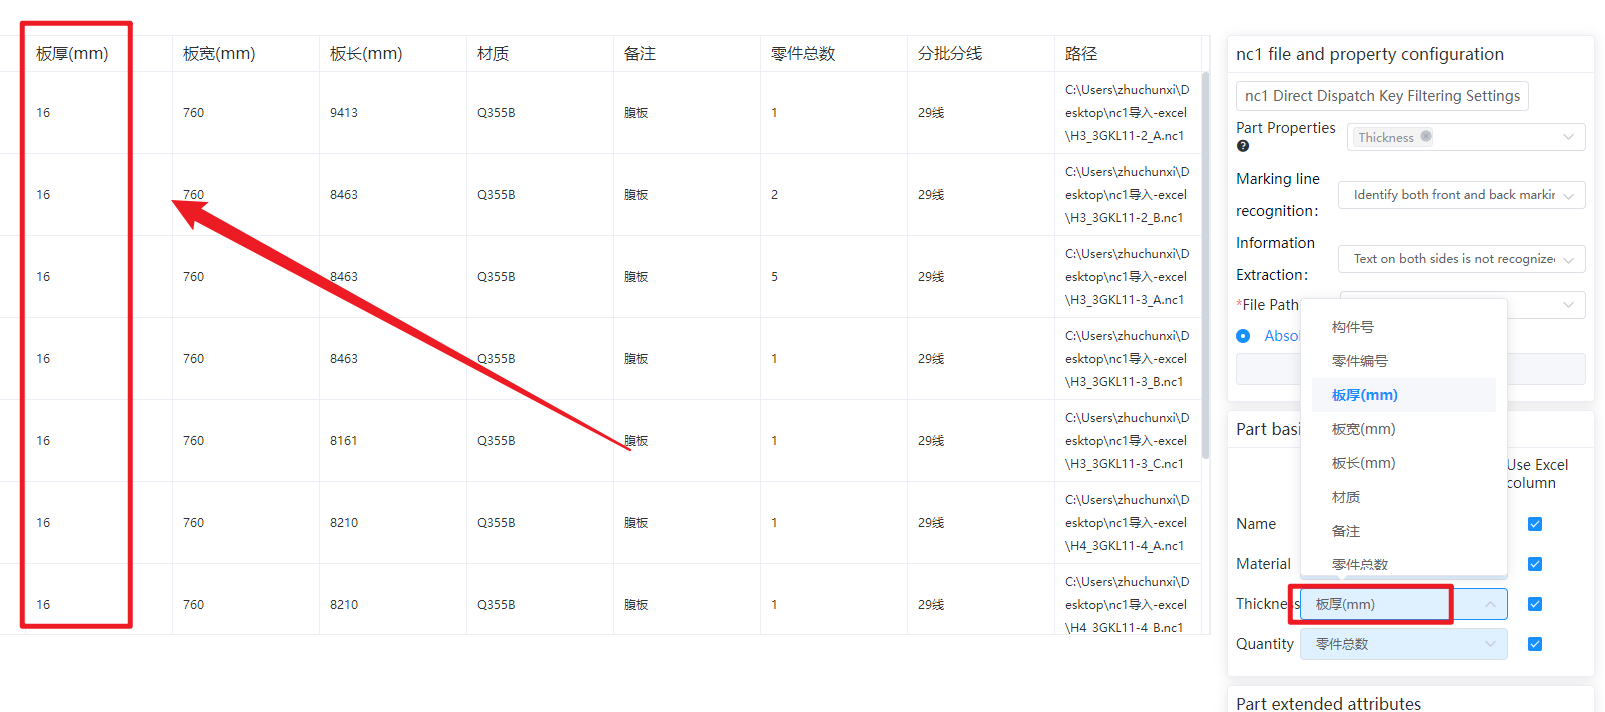
3. Copy the information from Excel and paste it into the text box (the header also needs to be copied)
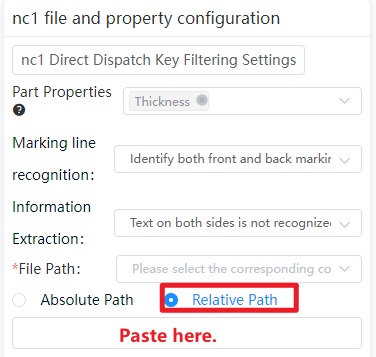
4. Select [Relative Path] or [Absolute Path].
-
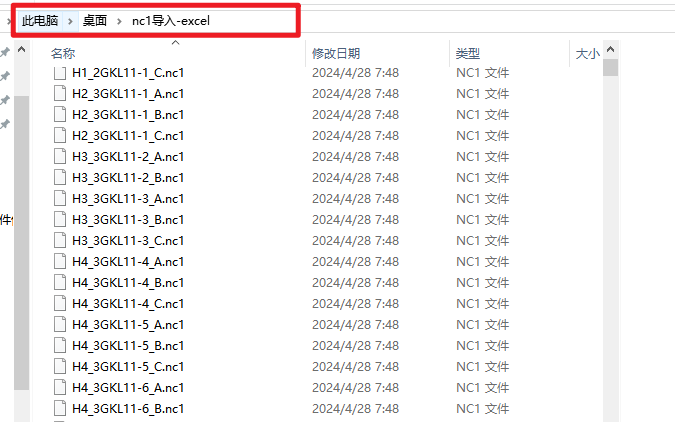
- If the nc1 file is in the same folder, select [Relative Path] and copy and paste the path where the file is located into the relative path text box.
File Name needs to be set as the same field name in Excel as Name (due to this case) The Name of nc1 corresponds to the column information of 【Part Number】 in Excel, so select 【Part Number】
-
-
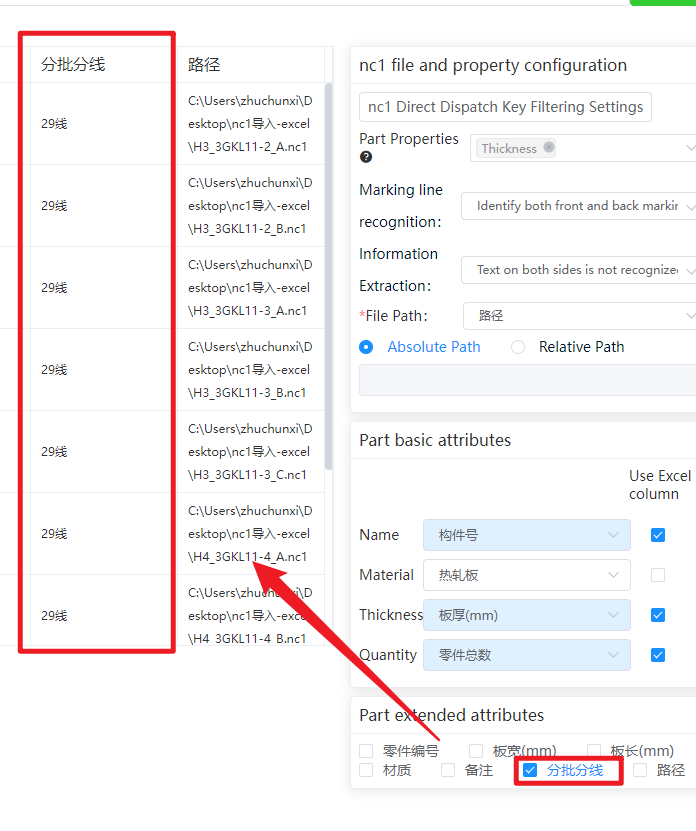
If there is a file path in the Excel table, select [absolute path], and [file name] select the absolute path of the column.
-
5.nc1 attribute placement
-
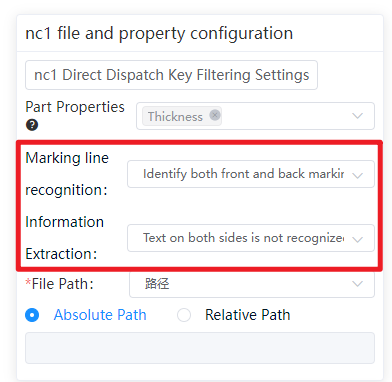
- If you need to use the information that comes with the nc1 (material, thickness, quantity) you need to select the appropriate information, the selection will prioritize the use of the information that comes with the nc1.
-
- Marking line recognition and text recognition on demand
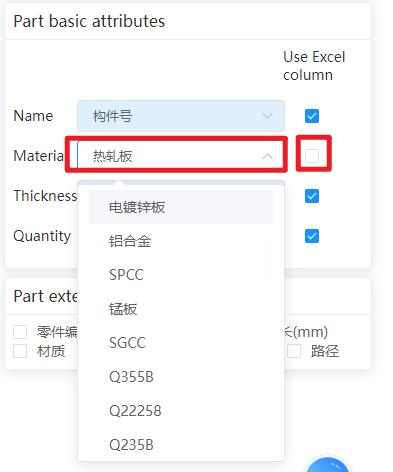
6.Set the basic information of the parts
-
Check [Use Excel Column]: Select the information in the Excel spreadsheet to map to parts.
- Do not check [Use Excel Column]: Can customize part information
7.If the part has extended information (such as: construction, team, etc.), you can select to include the extended information Import.
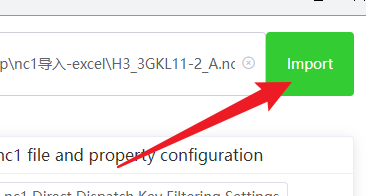
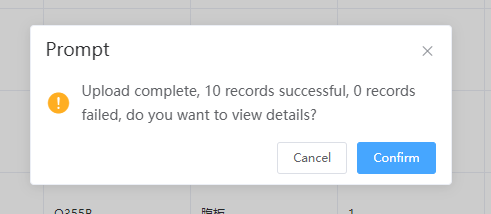
8.Click Top right corner 【Import】, if there are any parts with Import failure, you can click OK to check the reason for failure
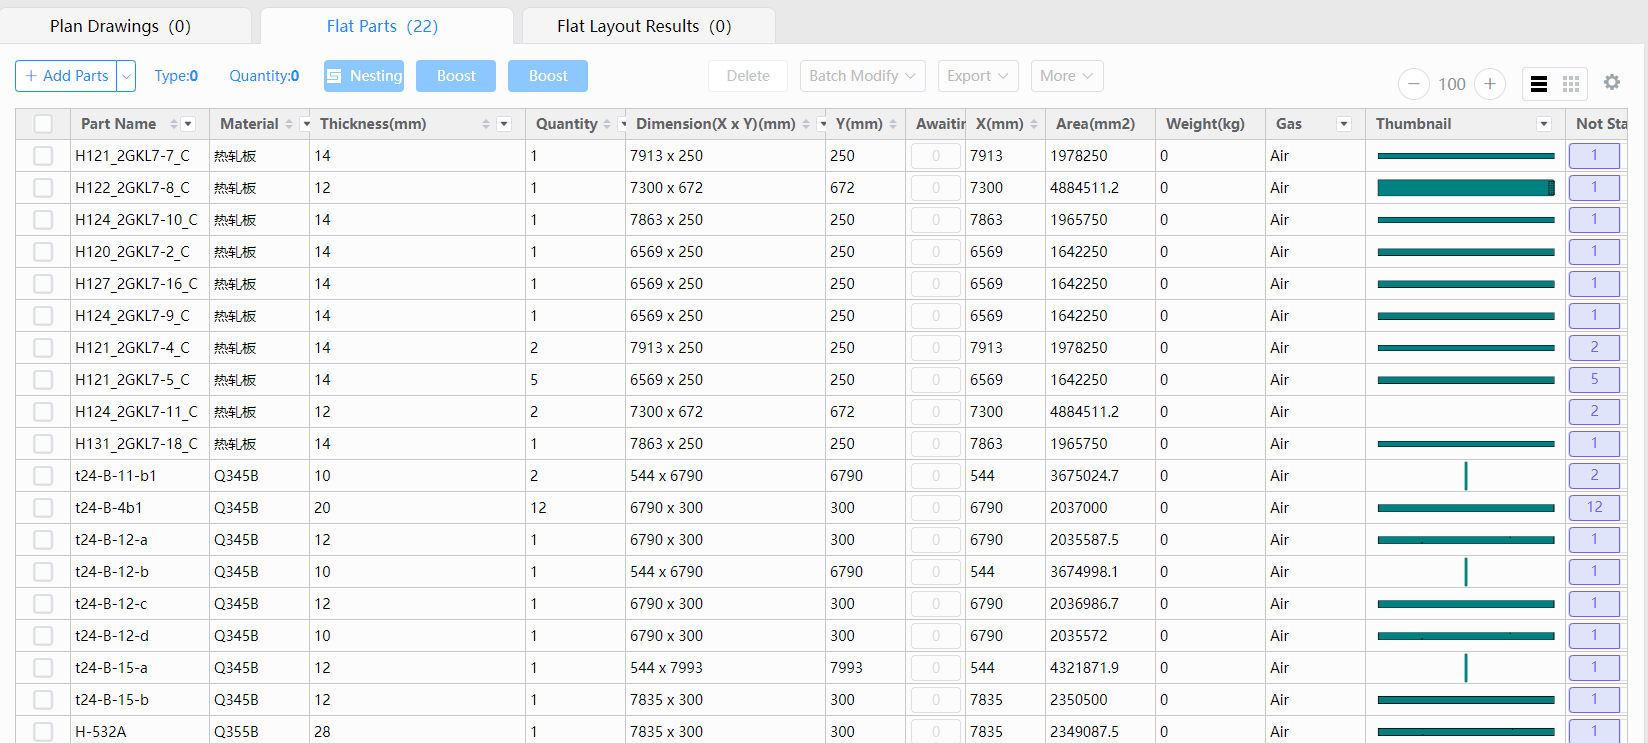
9.Return to view imported parts using CloudNestPart List


