

-
Products
Overview Products

-
2D Cutting
-
Tube Cutting
-
3D Cutting
-
Intelligent Welding
-
Intelligent Cutting Head
-
Industrial Automation
-
Industrial Software
-
Combination
-
Combination
BOCHU New Product -
Combination
BOCHU New Product -
Controller
BOCHU New Product -
2D Cutting Head
Tube Cutting Head
3D Cutting Head
Consumables
BOCHU New Product -
Servo
BOCHU New Product -
Industrial 4.0
-
- Support
- About
- Online Store


- Software Download
- Manual
- Tutorial
- CloudNest
Function description
CloudNest has a unified management Plate Lib, and each Nest Task can use panels from the Plate Lib. It is recommended that new users complete the Plate Lib establishment before starting Nest.
Operating steps
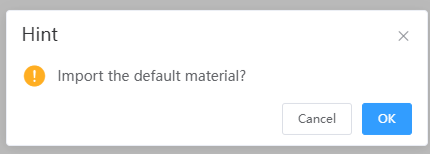
1. Enter CloudNest, click [Plate Manage]; if you use CloudNest for the first time, it will pop up [Import the default materials?];
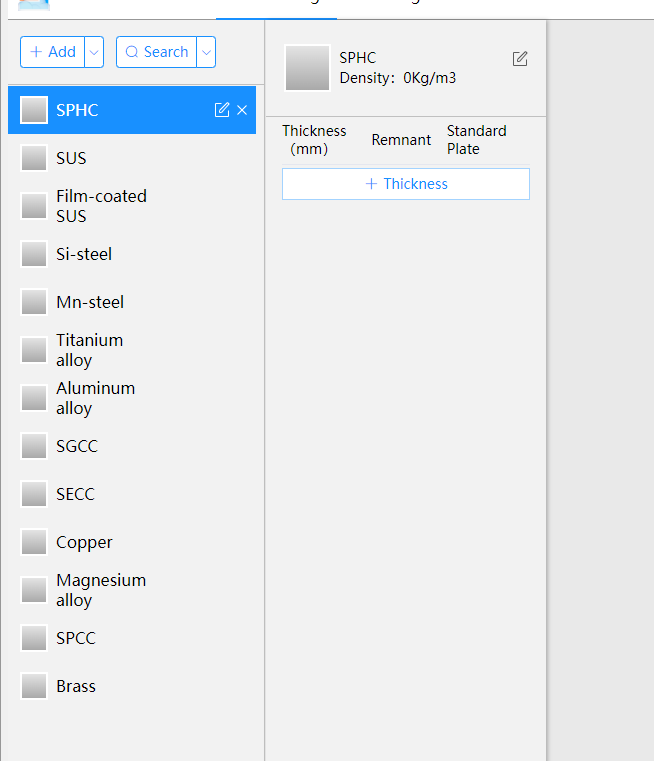
2. After clicking [OK], the left list will display the default materials;
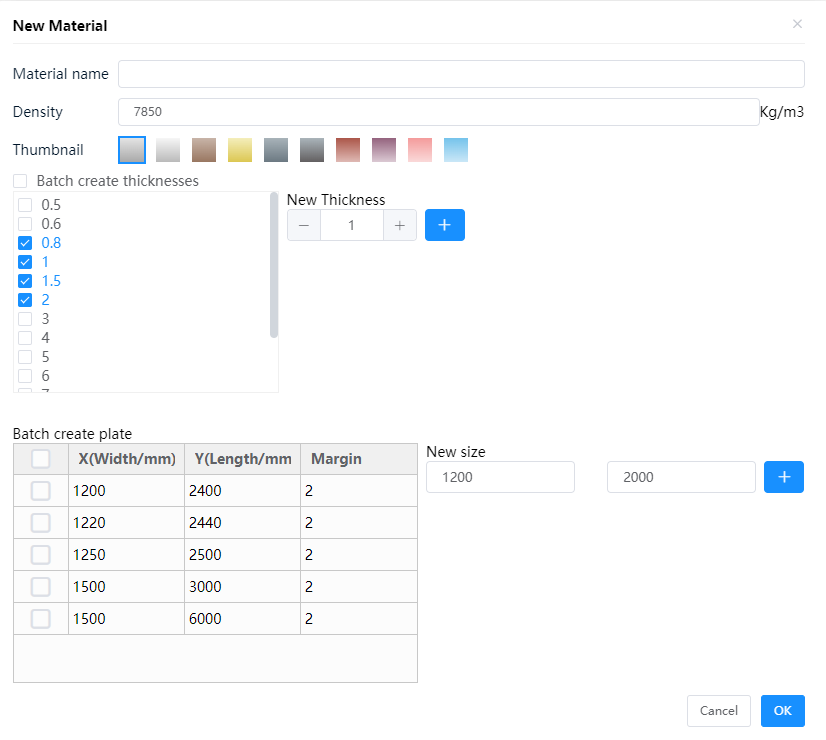
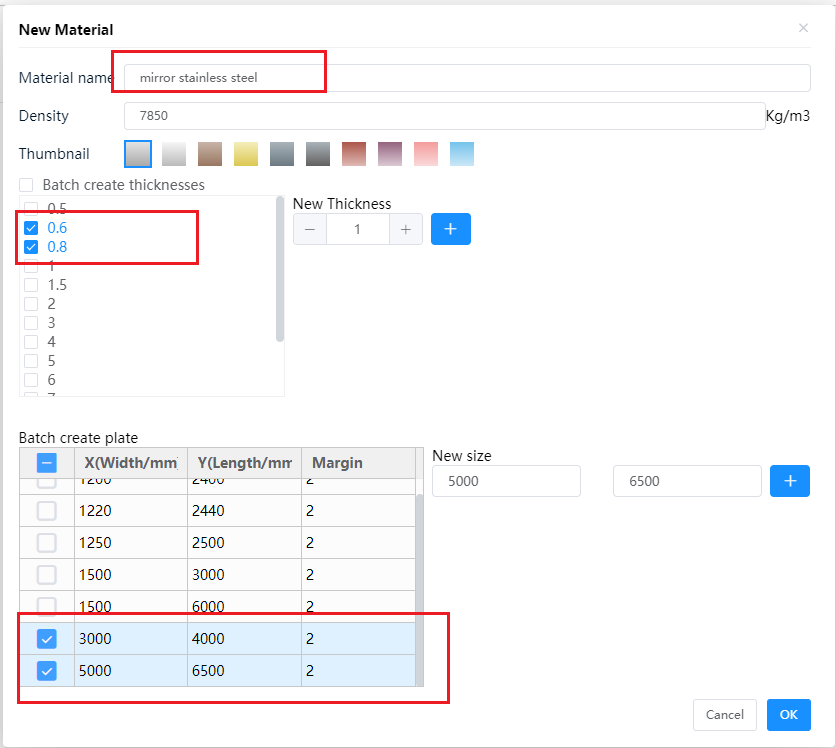
3. Click the [Add] button to batch add new materials; in the pop-up window, you can modify material name, density, thumbnail, thickness, and size.
-
- The software supports adding new thicknesses and sizes. You can double-click on the existing sizes to modify them.
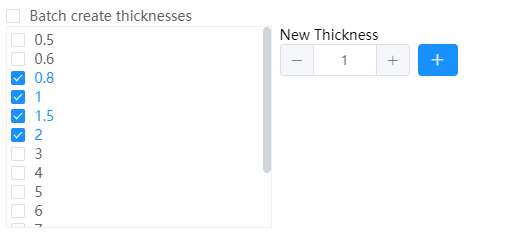
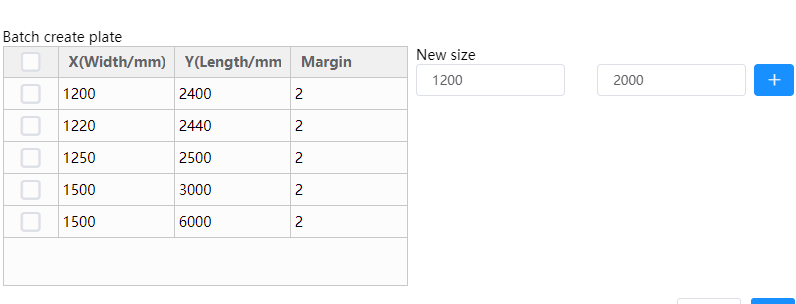
Taking mirror stainless steel as an example, set thicknesses of 0.6mm and 0.8mm and sizes of 3000x4000 and 5000x6500. Click [OK].
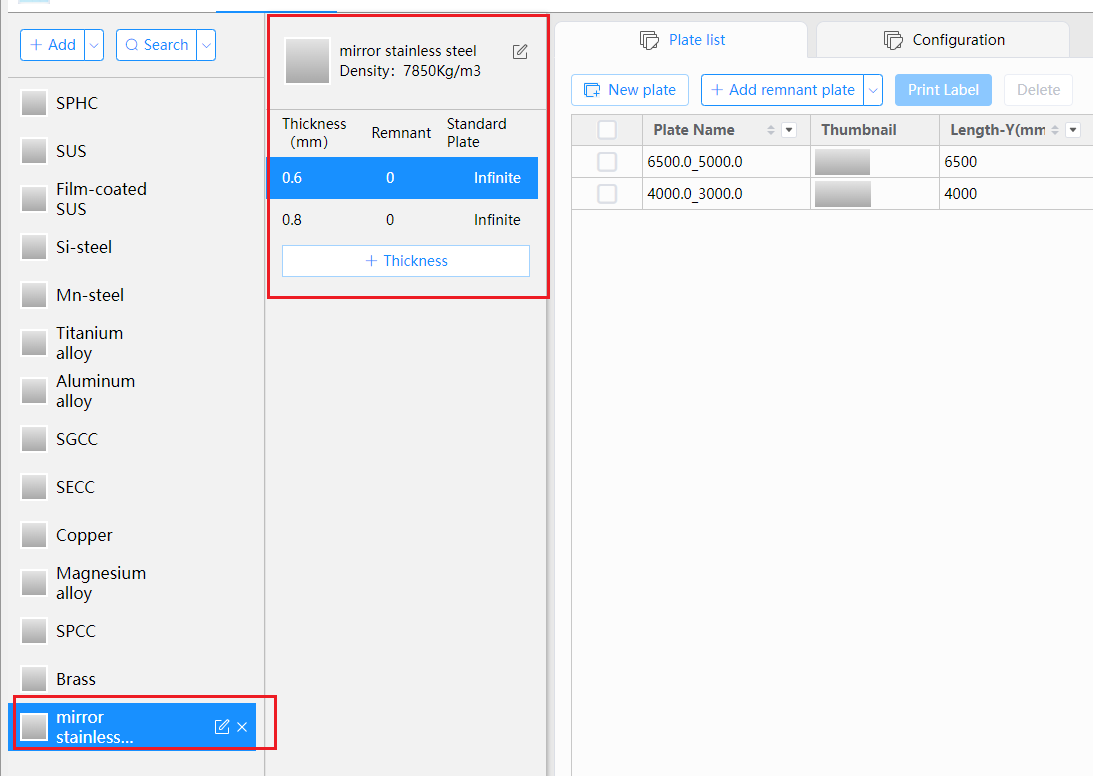
And you can click the mirror stainless steel in the left list to view more information.
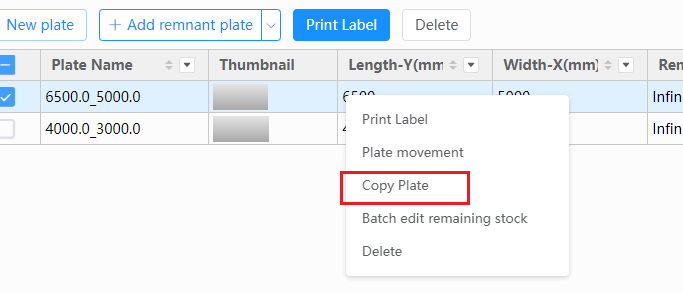
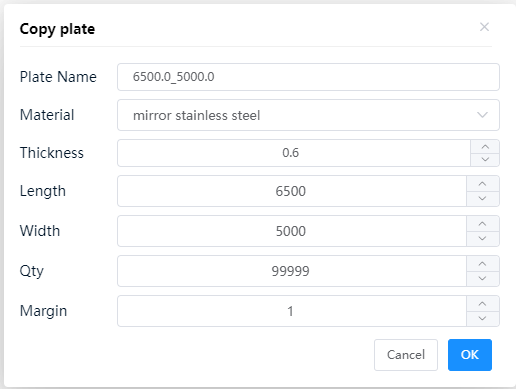
Double-clicking the plate properties can modify them.
Right-click the plate, choose[Copy Plate] can quickly create a plate with the same sizes and thickness or add a new one with modified properties.
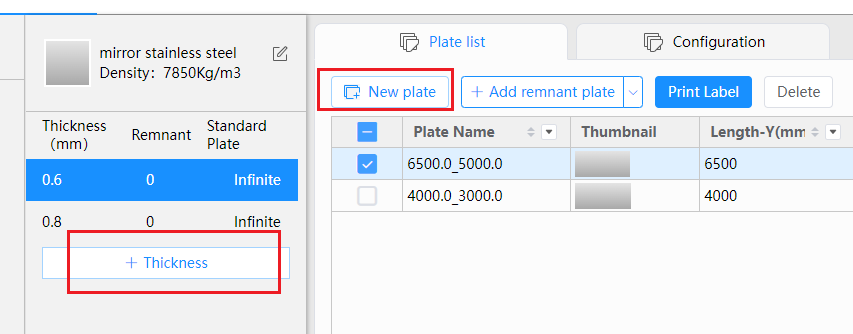
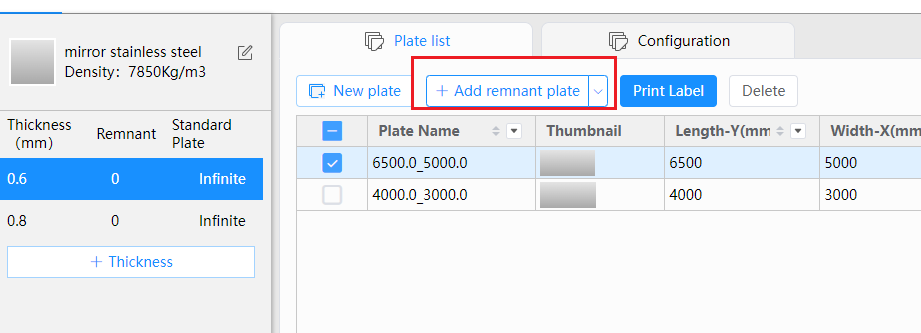
We can also directly add thickness under the plate, and add new plate, or import remnant plate;
You can also set up automatic techniques in CloudNest's Plate Lib to manage different auto techniques easily. Choose [Configuration]--[New] to set them.
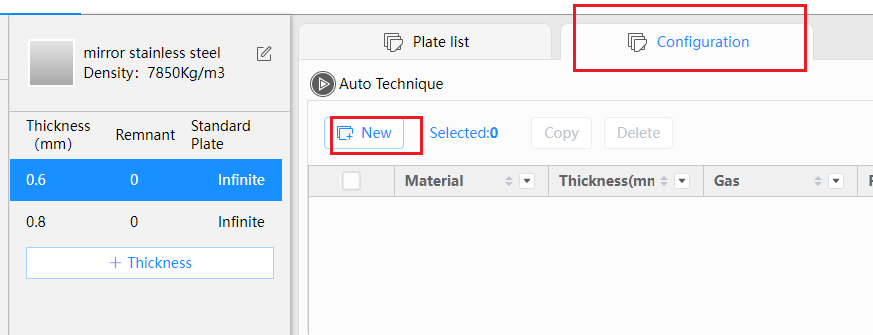
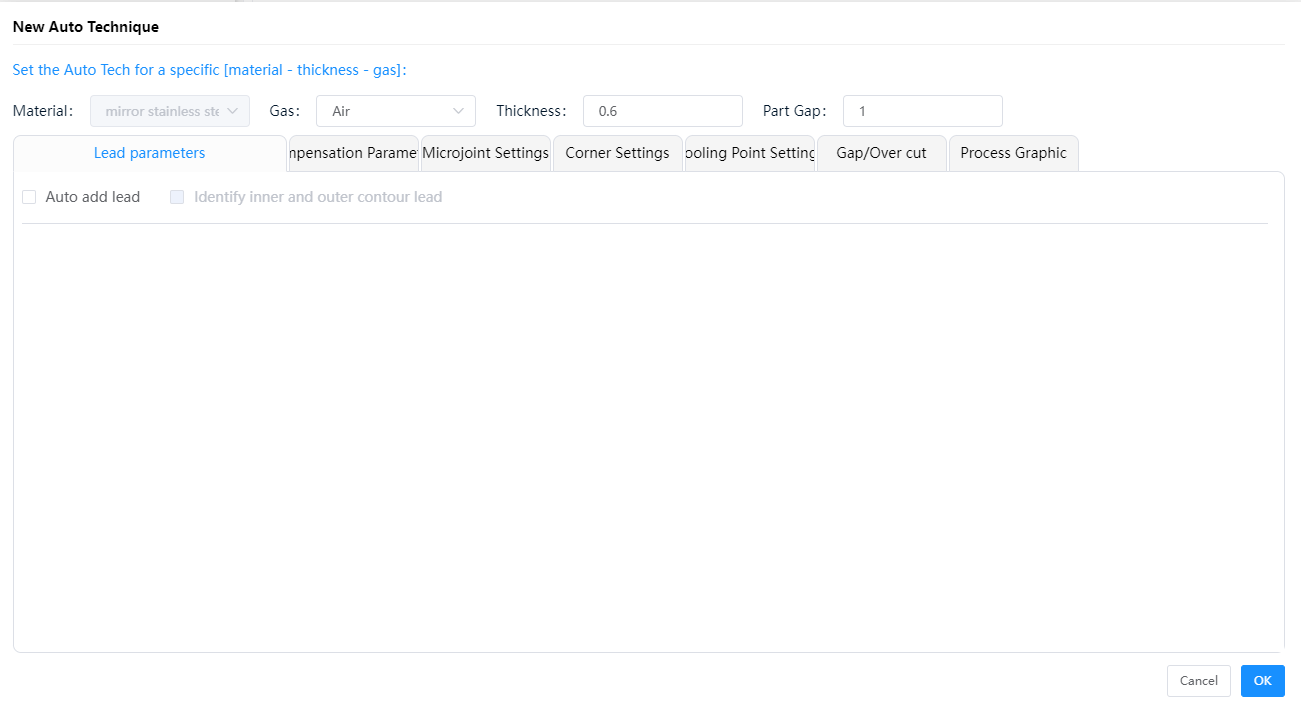
The automatic technique will be automatically applied when the next time you use the board of same material and thickness.
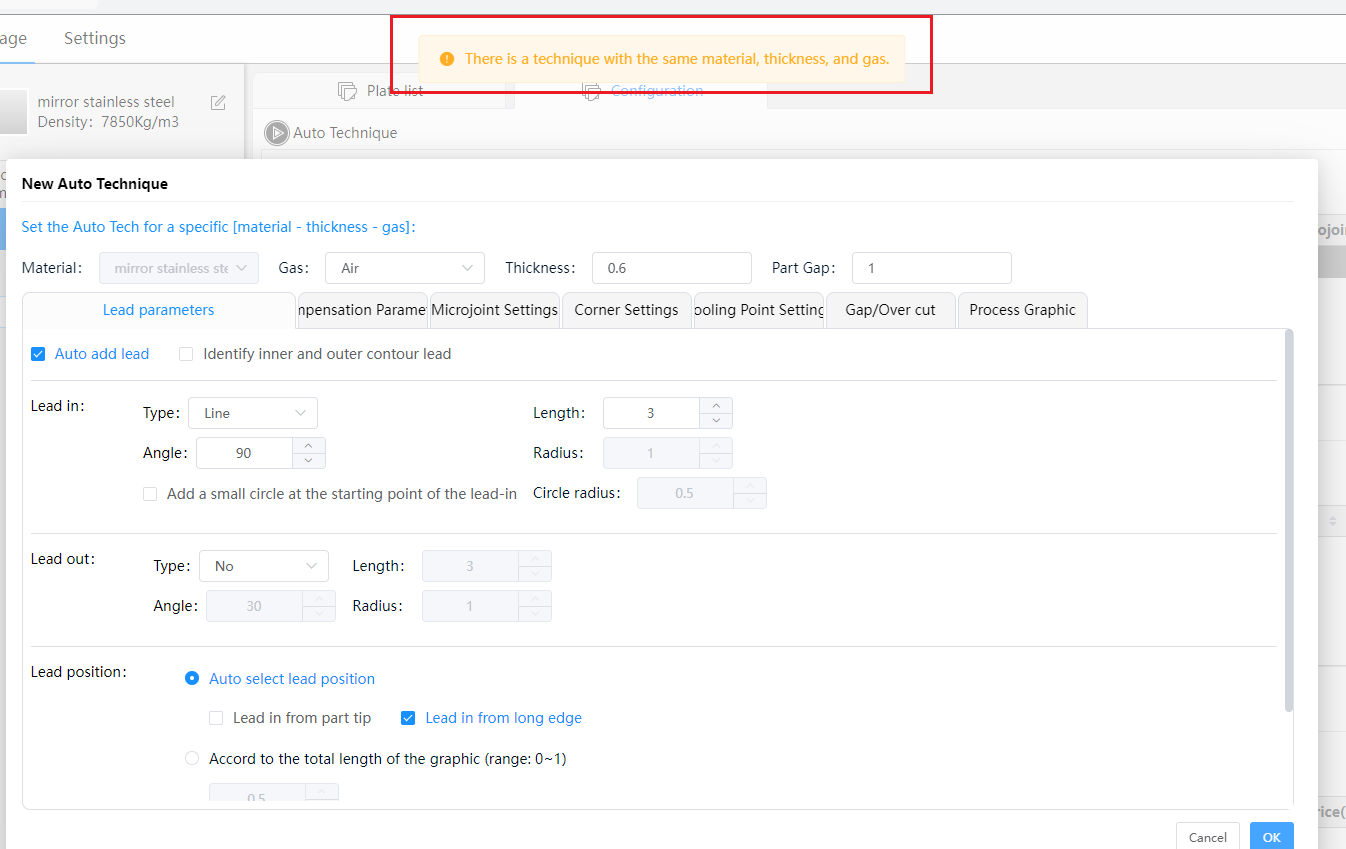
Note:
-
- There is only one automatic technique under one type of board; if you add it repeatedly, the original techinique needs to be deleted.
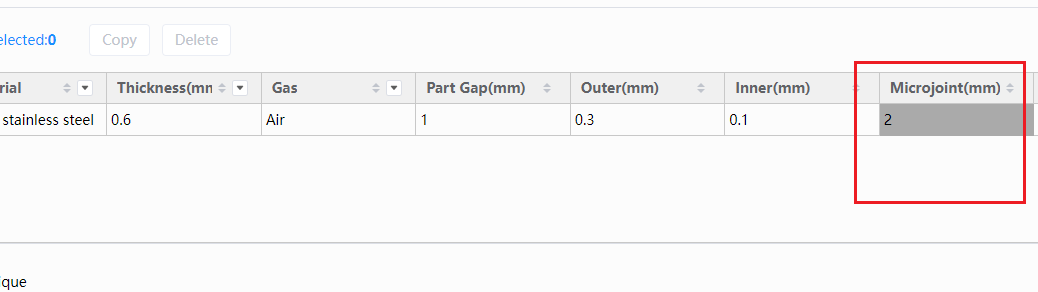
- The gray bar for automatic technique indicates that it is not set.
Function description
CloudNest has a unified management Plate Lib, and each Nest Task can use panels from the Plate Lib. It is recommended that new users complete the Plate Lib establishment before starting Nest.
Operating steps
1. Enter CloudNest, click [Plate Manage]; if you use CloudNest for the first time, it will pop up [Import the default materials?];
2. After clicking [OK], the left list will display the default materials;
3. Click the [Add] button to batch add new materials; in the pop-up window, you can modify material name, density, thumbnail, thickness, and size.
-
- The software supports adding new thicknesses and sizes. You can double-click on the existing sizes to modify them.
Taking mirror stainless steel as an example, set thicknesses of 0.6mm and 0.8mm and sizes of 3000x4000 and 5000x6500. Click [OK].
And you can click the mirror stainless steel in the left list to view more information.
Double-clicking the plate properties can modify them.
Right-click the plate, choose[Copy Plate] can quickly create a plate with the same sizes and thickness or add a new one with modified properties.
We can also directly add thickness under the plate, and add new plate, or import remnant plate;
You can also set up automatic techniques in CloudNest's Plate Lib to manage different auto techniques easily. Choose [Configuration]--[New] to set them.
The automatic technique will be automatically applied when the next time you use the board of same material and thickness.
Note:
-
- There is only one automatic technique under one type of board; if you add it repeatedly, the original techinique needs to be deleted.
-
- The gray bar for automatic technique indicates that it is not set.

