

-
Products
Overview Products

-
2D Cutting
-
Tube Cutting
-
3D Cutting
-
Intelligent Welding
-
Intelligent Cutting Head
-
Industrial Automation
-
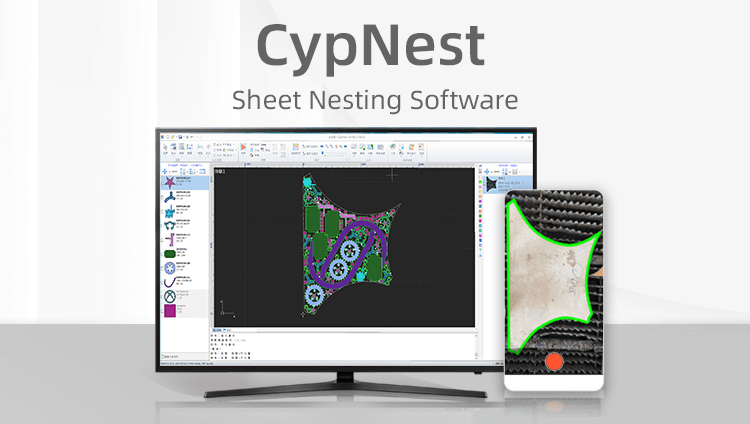
Industrial Software
-
Combination
-
Combination
BOCHU New Product -
Combination
BOCHU New Product -
Controller
BOCHU New Product -
2D Cutting Head
Tube Cutting Head
3D Cutting Head
Consumables
BOCHU New Product -
Servo
BOCHU New Product -
Industrial 4.0
-
- Support
- About
- Online Store


- Software Download
- Manual
- Tutorial
- CloudNest
Function Description
To add labels that are stored as image files on the computer to parts, you can use the Batch Add Image Labels function to assign corresponding image labels to each part.
Note: The function is only available when part files are in *.dxf format and each file contains only one part.
Operation Steps
Prepare part drawings, image files (in *.jpg format), and an Excel spreadsheet which clearly defines the correspondence between parts, part drawings, and image labels.


1.Import parts and image labels to CloudNest.
(1) Click Batch Import Part under the Add Parts drop-down menu.

(2) Select dxf import and copy the data from the Excel spreadsheet into the text box.

(3) Configure dxf file and attribute settings.
-
-
- File Path: Path where *.dxf part files are located.
- Coding Path: Path where the image label files are located.
-
Two options are available: Absolute Path or Relative Path. Choose based on the content of your Excel spreadsheet. For detailed steps, refer to The Excel Batch Import DXF function to import parts to CloudNest.
In the following example, select Absolute Path and choose the corresponding column from the Excel spreadsheet for the path address.

(4) Set Part basic property.
-
-
- Check Using Excel column to map information from the Excel spreadsheet to part prperties.
- Uncheck Using Excel column to manually customize part information.
-

(5) Click Import in the top-right corner.

2. Batch add image labels.
(1) Select the parts and click Auto Nest.

(2) After nesting, click Add Image Label in the Add Label drop-down menu to attach the labels to the parts.


Parameter Description
If you need to specify the position for adding labels, you can set the coordinates of the image labels before nesting.
Add a custom field named Location. For detailed instructions on how to customize fields, refer to Custom Display of List Fields.
Use the parameter setting format {"X":"2","Y":"5"} to indicate the coordinate positions for X and Y.

Function Description
To add labels that are stored as image files on the computer to parts, you can use the Batch Add Image Labels function to assign corresponding image labels to each part.
Note: The function is only available when part files are in *.dxf format and each file contains only one part.
Operation Steps
Prepare part drawings, image files (in *.jpg format), and an Excel spreadsheet which clearly defines the correspondence between parts, part drawings, and image labels.
1.Import parts and image labels to CloudNest.
(1) Click Batch Import Part under the Add Parts drop-down menu.
(2) Select dxf import and copy the data from the Excel spreadsheet into the text box.
(3) Configure dxf file and attribute settings.
-
-
- File Path: Path where *.dxf part files are located.
- Coding Path: Path where the image label files are located.
-
Two options are available: Absolute Path or Relative Path. Choose based on the content of your Excel spreadsheet. For detailed steps, refer to The Excel Batch Import DXF function to import parts to CloudNest.
In the following example, select Absolute Path and choose the corresponding column from the Excel spreadsheet for the path address.
(4) Set Part basic property.
-
-
- Check Using Excel column to map information from the Excel spreadsheet to part prperties.
- Uncheck Using Excel column to manually customize part information.
-
(5) Click Import in the top-right corner.
2. Batch add image labels.
(1) Select the parts and click Auto Nest.
(2) After nesting, click Add Image Label in the Add Label drop-down menu to attach the labels to the parts.
Parameter Description
If you need to specify the position for adding labels, you can set the coordinates of the image labels before nesting.
Add a custom field named Location. For detailed instructions on how to customize fields, refer to Custom Display of List Fields.
Use the parameter setting format {"X":"2","Y":"5"} to indicate the coordinate positions for X and Y.

