

-
Products
Overview Products

-
2D Cutting
-
Tube Cutting
-
3D Cutting
-
Intelligent Welding
-
Intelligent Cutting Head
-
Industrial Automation
-
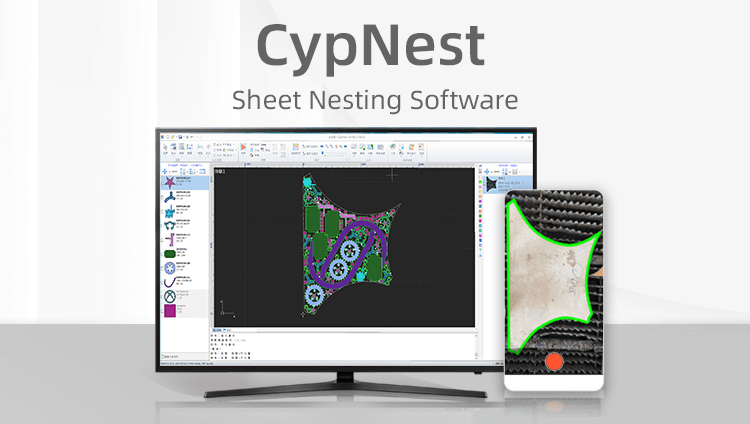
Industrial Software
-
Combination
-
Combination
BOCHU New Product -
Combination
BOCHU New Product -
Controller
BOCHU New Product -
2D Cutting Head
Tube Cutting Head
3D Cutting Head
Consumables
BOCHU New Product -
Servo
BOCHU New Product -
Industrial 4.0
-
- Support
- About
- Online Store


- Software Download
- Manual
- Tutorial
- CloudNest
Ⅰ. What is a Job
A job generally refers to the activities performed to accomplish a specific task. In CloudNest, it can be viewed as a sub-folder that helps manage your extensive local nesting files. By designating a set of machining tasks as a job, you can perform nesting, processing, and progress tracking for the entire job as a single unit.
Ⅱ. How to Create a Job
There are three tabs at the top left of CloudNest: Job, Parts, Nest Result, to access specific information on jobs, parts, and nesting results respectively.
Click Job to find options on the right to create a New Root Directory or New Root Directory Job.
Add Catalog: Enter the catalog name and optionally assign a customer code. You may click Add to input a customer's detailed information and associate an order with the customer.
Notice: The customer code can be presented after the job name or in reports and other sections.


Under a root directory, you can continue to create new catalogs and jobs.
You can create a multi-layered directory according to your project requirements.
III. Flexible Job Structure
Move and reorder jobs or folder directories by dragging them with the mouse.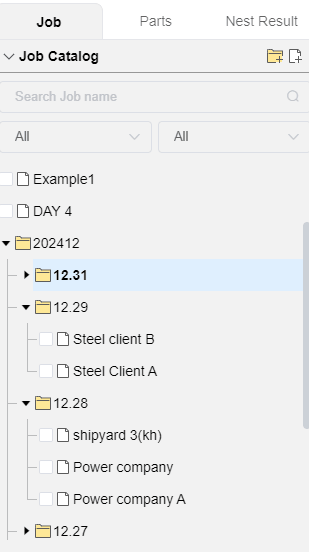
IV. Job Search
Job Name Search: Use the search box above to quickly search for job names. Results are displayed underneath, presenting the job and its position in the directory.
Conditional Filtering: Filter jobs based on time and status.

V. Right‑click Menu

Set As Product: Set all parts under a job as a product and store it in the product library. 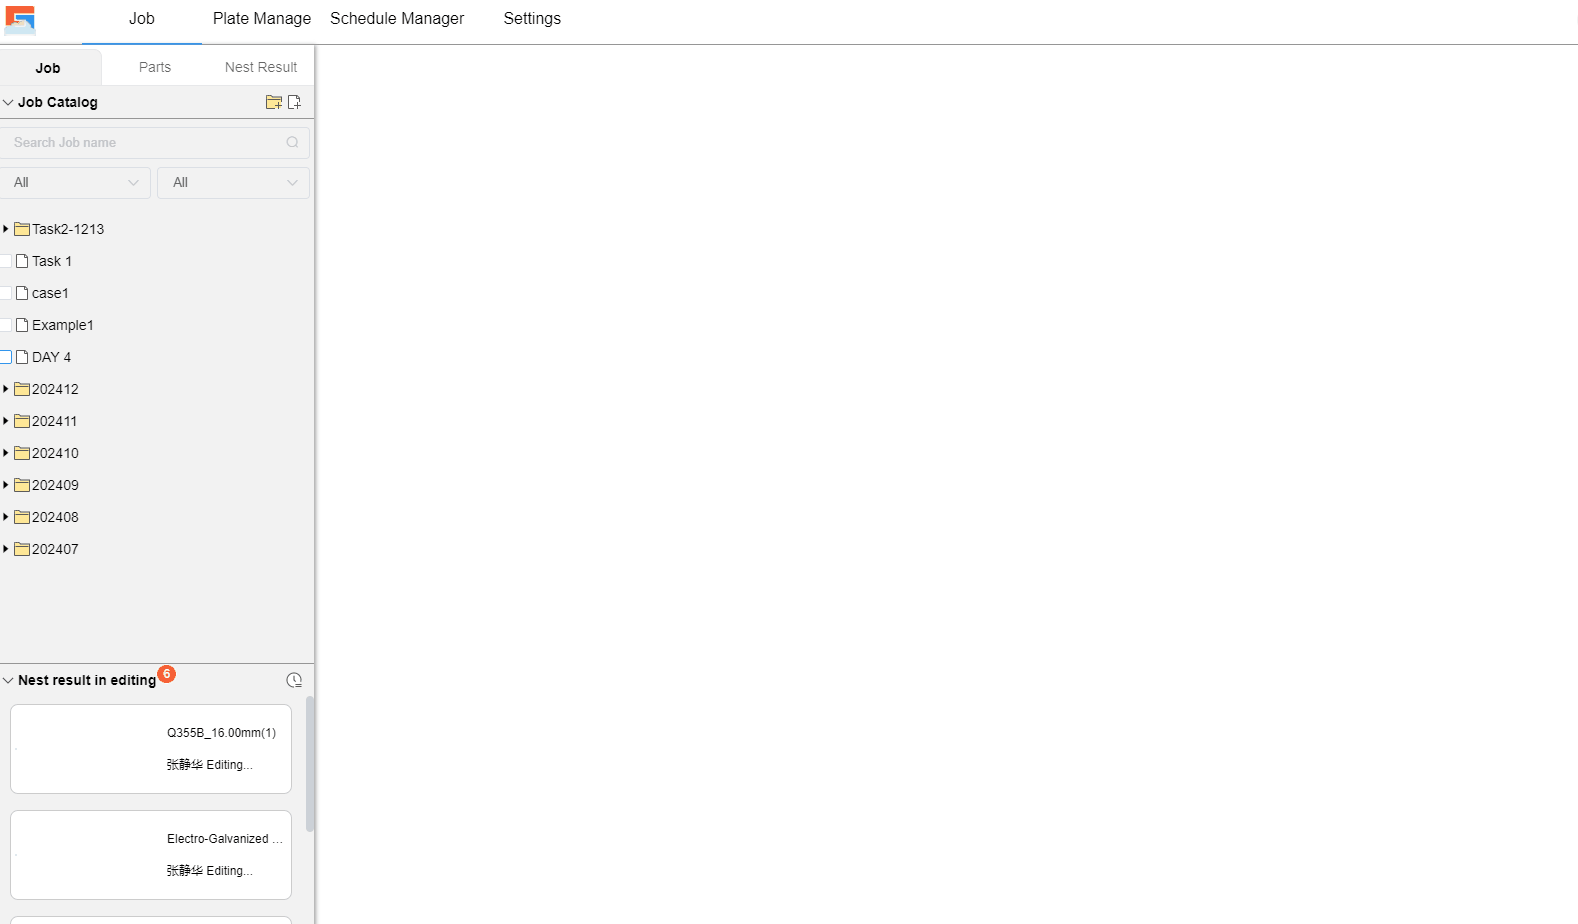
Mark as: Assign different statuses to a job (or folder). When all parts of a job are nested, you can mark the job as Completed with a small green checkmark in the job directory view to distinguish it from uncompleted jobs (or folders).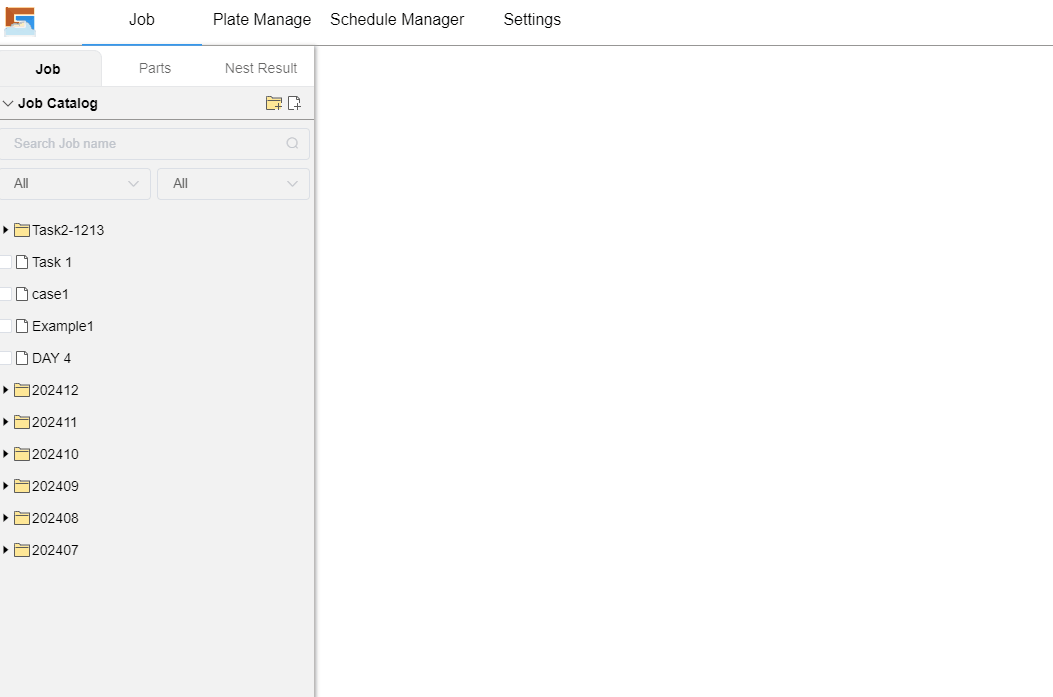
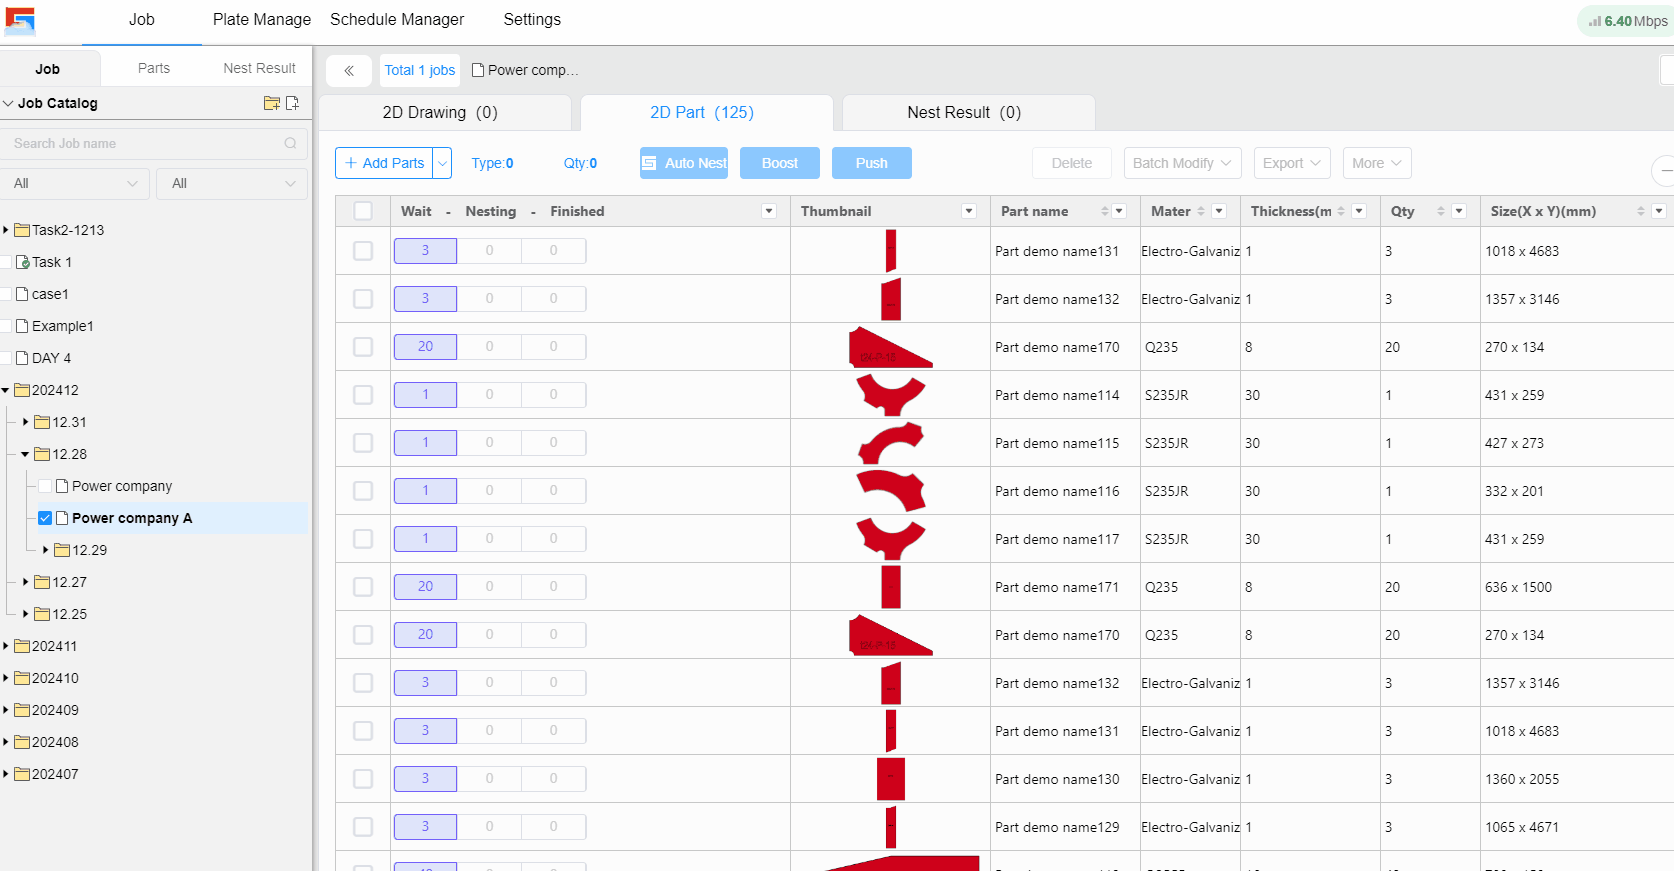
Custom Parts Fill Color: Assign a custom fill color to parts under the current job. When a custom color is applied, the colors of the parts in the job will change from the system default color to the custom color.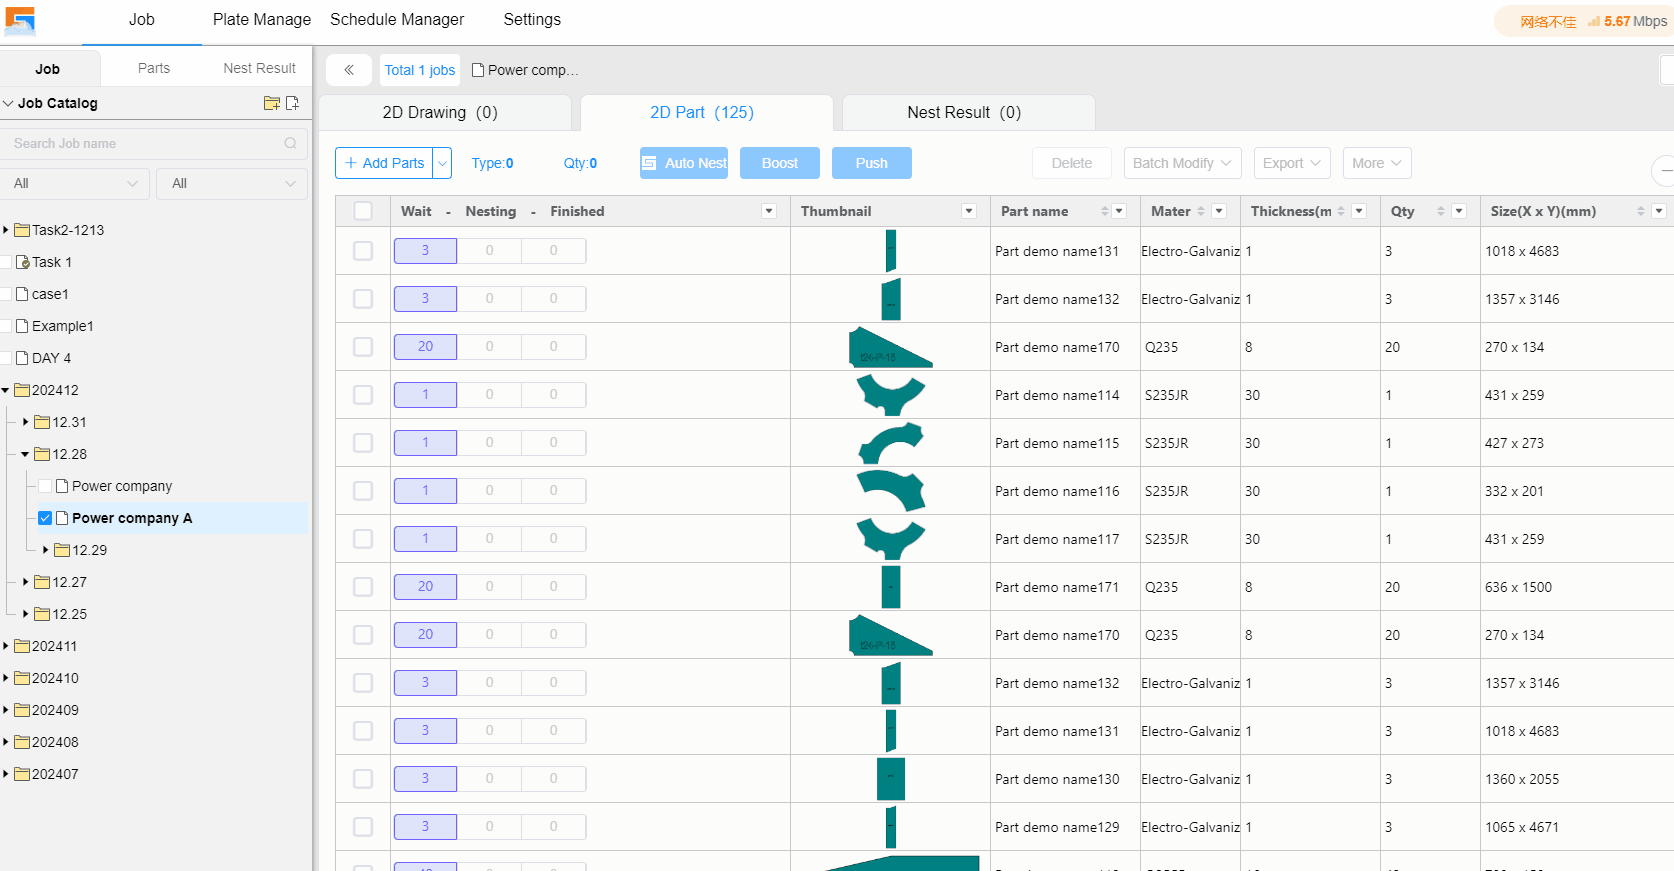
Edit: Modify the job/folder name, bound customer information and etc.
Delete: Delete a job when there are no parts under it; if the job still contains parts, deletion is not allowed.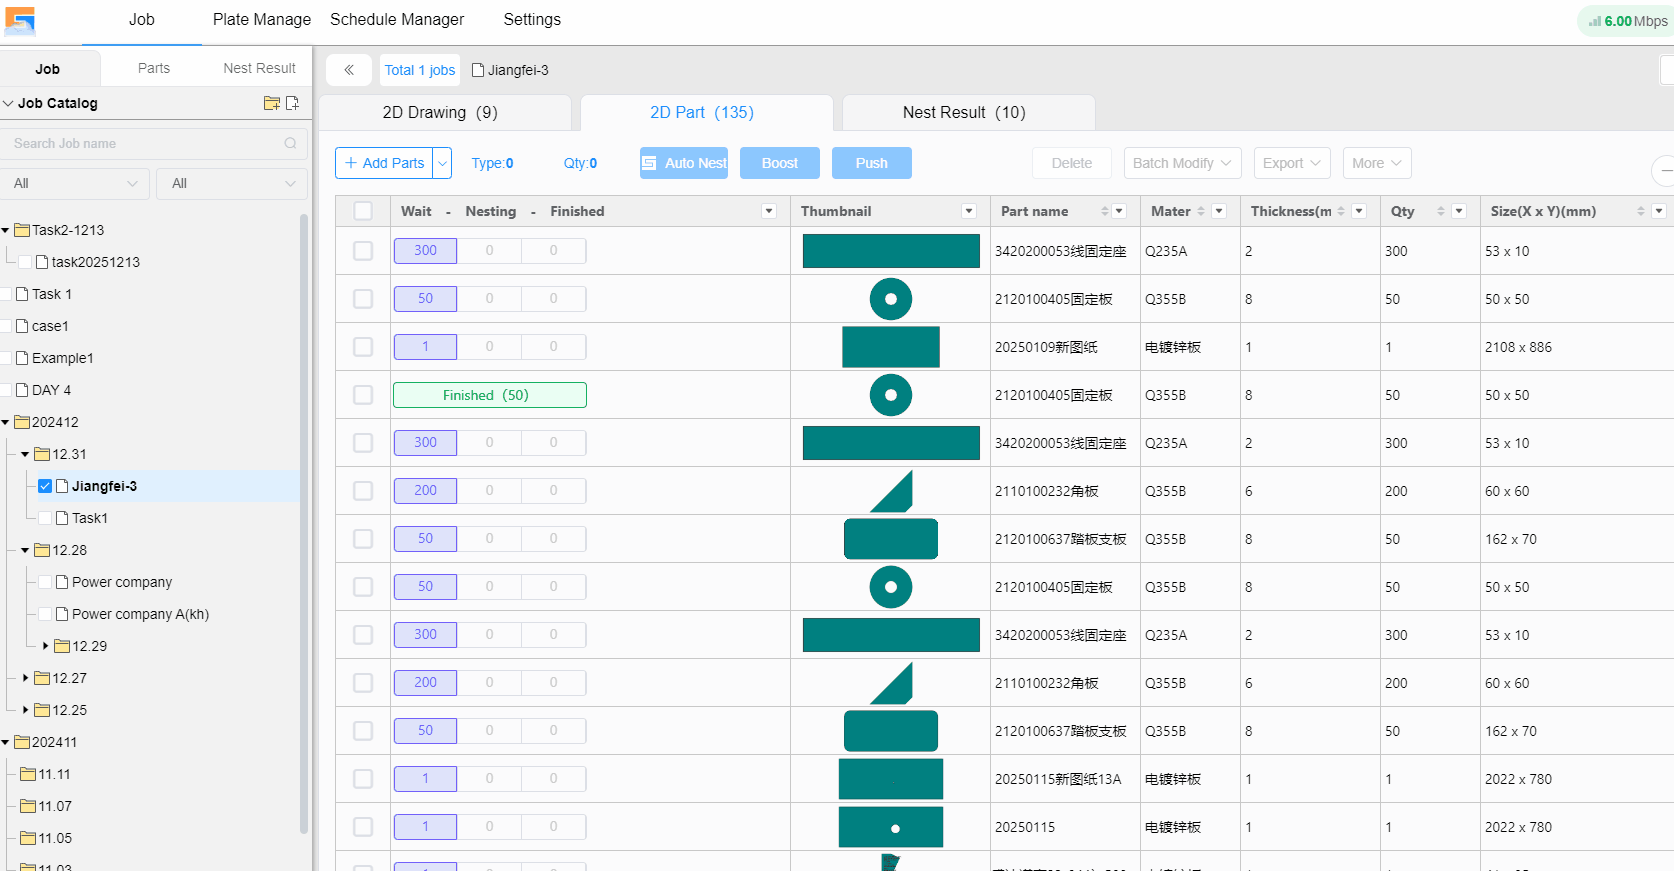
Expand to Current Job: When you have expanded multiple sub‑level menus and lose track of which job the parts list belongs to, right‑click any job (or folder) and click Expand to Current Job to navigate directly to the job associated with the right‑side parts list.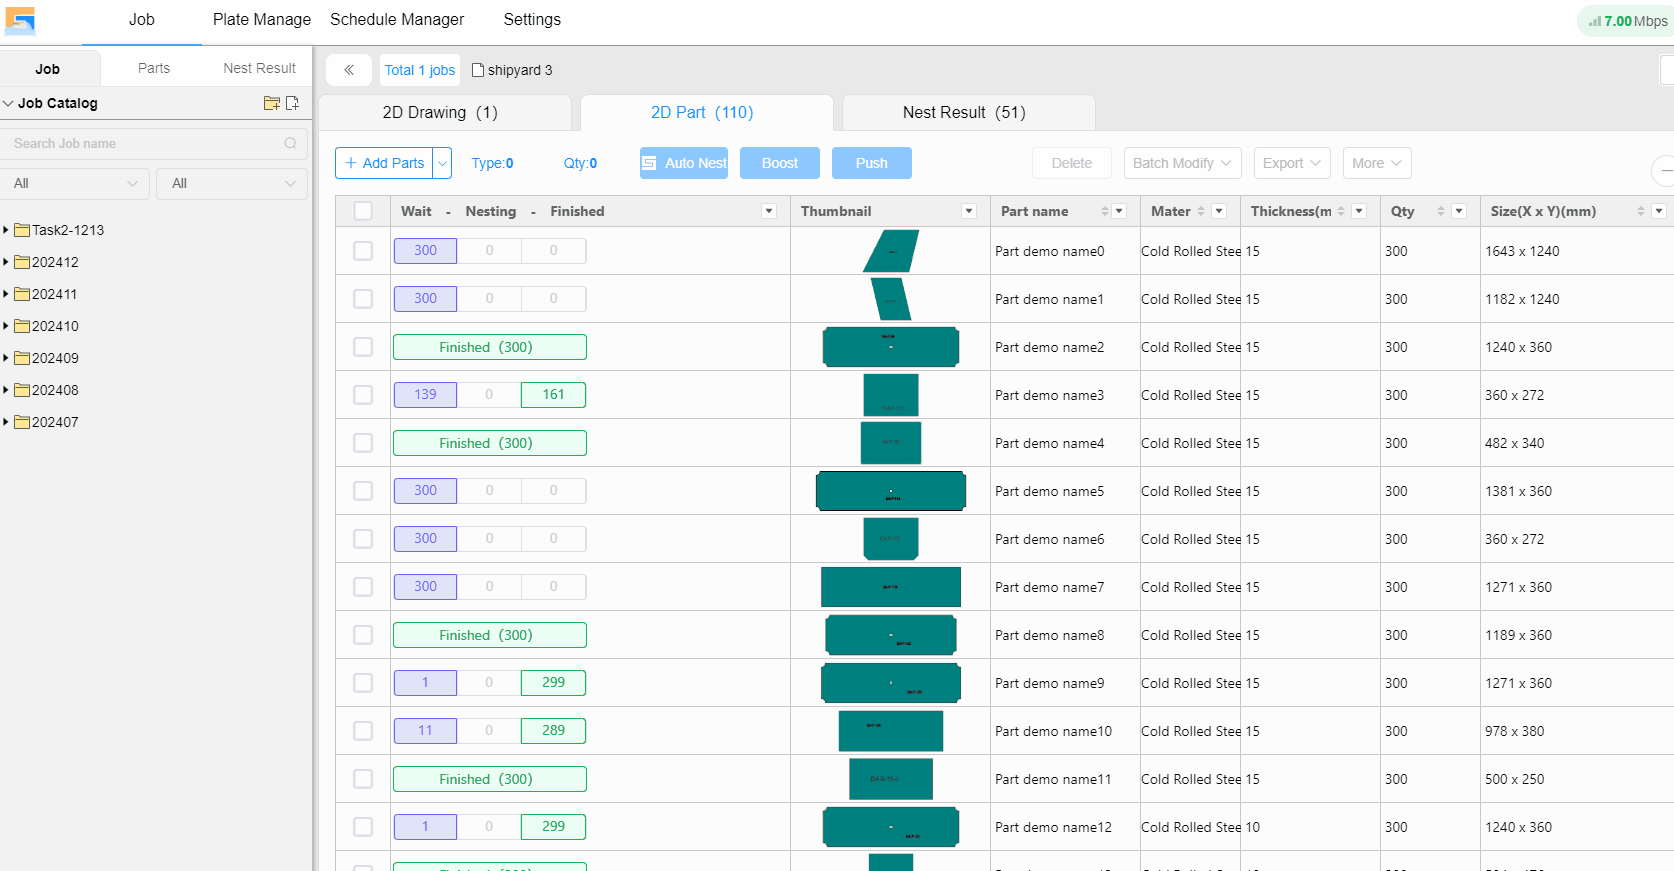
Expand All: Quickly expand all sub‑job directories under the root directory.
Collapse All: Quickly collapse all expanded sub‑directories and jobs, displaying only the root folder.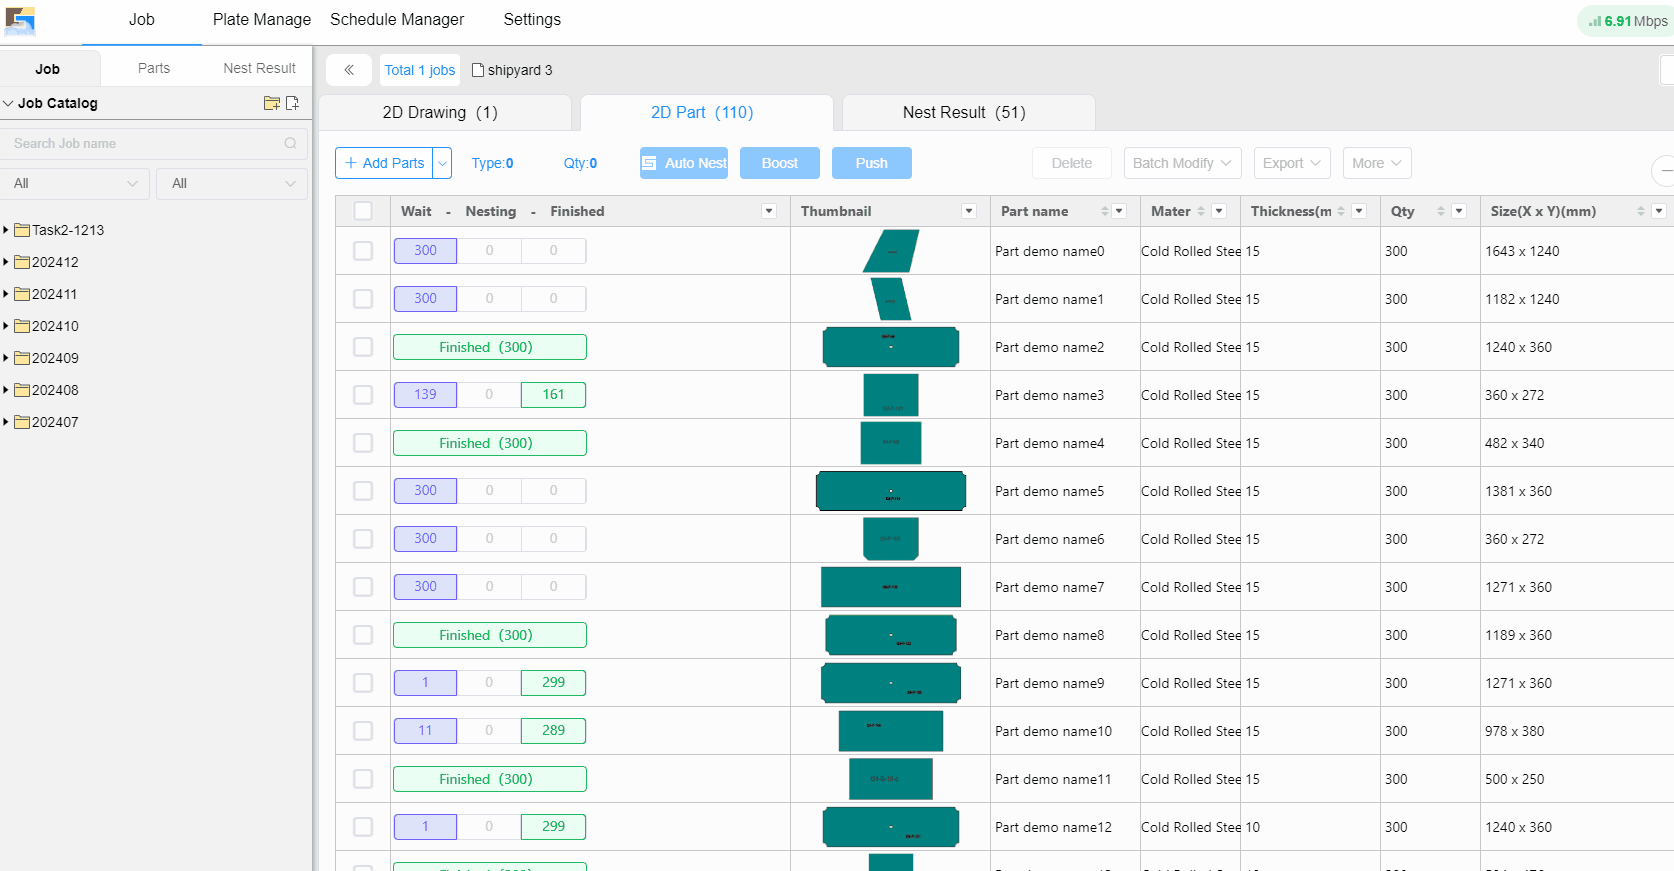
Ⅰ. What is a Job
A job generally refers to the activities performed to accomplish a specific task. In CloudNest, it can be viewed as a sub-folder that helps manage your extensive local nesting files. By designating a set of machining tasks as a job, you can perform nesting, processing, and progress tracking for the entire job as a single unit.
Ⅱ. How to Create a Job
There are three tabs at the top left of CloudNest: Job, Parts, Nest Result, to access specific information on jobs, parts, and nesting results respectively.
Click Job to find options on the right to create a New Root Directory or New Root Directory Job.
Add Catalog: Enter the catalog name and optionally assign a customer code. You may click Add to input a customer's detailed information and associate an order with the customer.
Notice: The customer code can be presented after the job name or in reports and other sections.
Under a root directory, you can continue to create new catalogs and jobs.
You can create a multi-layered directory according to your project requirements.
III. Flexible Job Structure
Move and reorder jobs or folder directories by dragging them with the mouse.
IV. Job Search
Job Name Search: Use the search box above to quickly search for job names. Results are displayed underneath, presenting the job and its position in the directory.
Conditional Filtering: Filter jobs based on time and status.
V. Right‑click Menu
Set As Product: Set all parts under a job as a product and store it in the product library.
Mark as: Assign different statuses to a job (or folder). When all parts of a job are nested, you can mark the job as Completed with a small green checkmark in the job directory view to distinguish it from uncompleted jobs (or folders).
Custom Parts Fill Color: Assign a custom fill color to parts under the current job. When a custom color is applied, the colors of the parts in the job will change from the system default color to the custom color.
Edit: Modify the job/folder name, bound customer information and etc.
Delete: Delete a job when there are no parts under it; if the job still contains parts, deletion is not allowed.
Expand to Current Job: When you have expanded multiple sub‑level menus and lose track of which job the parts list belongs to, right‑click any job (or folder) and click Expand to Current Job to navigate directly to the job associated with the right‑side parts list.
Expand All: Quickly expand all sub‑job directories under the root directory.
Collapse All: Quickly collapse all expanded sub‑directories and jobs, displaying only the root folder.

