

-
Products
Overview Products

-
2D Cutting
-
Tube Cutting
-
3D Cutting
-
Intelligent Welding
-
Intelligent Cutting Head
-
Industrial Automation
-
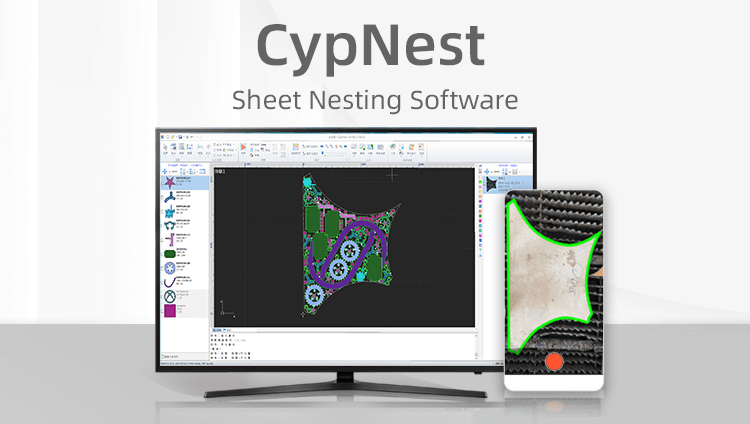
Industrial Software
-
Combination
-
Combination
BOCHU New Product -
Combination
BOCHU New Product -
Controller
BOCHU New Product -
2D Cutting Head
Tube Cutting Head
3D Cutting Head
Consumables
BOCHU New Product -
Servo
BOCHU New Product -
Industrial 4.0
-
- Support
- About
- Online Store


- Software Download
- Manual
- Tutorial
- CloudNest
Function Description
If all your parts are on a single drawing and their information is specified using an Excel spreadsheet, you can first split parts from the drawing and then import the parts together along with the Excel data into CloudNest.
Operation Steps
1.Extract parts from the drawing.
(1) Click Add Parts to open the drawing.

(2) Identify part names. Ensure part names correspond to those in the Excel sheet.
If the part names are text inside the part, navigate to the Identify Content page and check Named by text inside to recognize part names.

If the part names are text outside the part, refer to Identify Part Information from Text For details.
(3) Enter the Drawing Processing interface. After ensuring the drawing is correctly processed, right-click in the Part List and access Export File → Export All to store the parts files.

(4) Close the Drawing Processing interface and choose NOT to upload the parts.

2.Import part Excel file.
(1) Open the Add Parts drop-down menu and select Batch Import Part.

(2) Select prts import.

(3) Copy the information from the Excel sheet (including headers) and paste it into the text box.

(4) Configure prts file and attribute settings.
In the File Path column, select the column header that corresponds to the parts files' names. (In the following example, the parts files' names corresponds to the Part name column in Excel, so select Part name.)
 Check Relative path, and copy and paste into the text box the path where the parts files are stored .

(5) Configure Part basic property.
-
-
- Check Using Excel column and map information from the Excel to part properties.
-

-
-
- Uncheck Using Excel column to manually customize part information.
-

(6) Configure Part extended property. For example, check Size, Drawing and other extended properties, and they will be attached to the corresponding parts.

(7) Click Import in the top-right corner.

If any parts fail to import, click OK to view the failure reasons. Error information can also be exported to Excel for easy reference.


(8) Return to the part list to view the imported parts.

Function Description
If all your parts are on a single drawing and their information is specified using an Excel spreadsheet, you can first split parts from the drawing and then import the parts together along with the Excel data into CloudNest.
Operation Steps
1.Extract parts from the drawing.
(1) Click Add Parts to open the drawing.
(2) Identify part names. Ensure part names correspond to those in the Excel sheet.
If the part names are text inside the part, navigate to the Identify Content page and check Named by text inside to recognize part names.
If the part names are text outside the part, refer to Identify Part Information from Text For details.
(3) Enter the Drawing Processing interface. After ensuring the drawing is correctly processed, right-click in the Part List and access Export File → Export All to store the parts files.
(4) Close the Drawing Processing interface and choose NOT to upload the parts.
2.Import part Excel file.
(1) Open the Add Parts drop-down menu and select Batch Import Part.
(2) Select prts import.
(3) Copy the information from the Excel sheet (including headers) and paste it into the text box.
(4) Configure prts file and attribute settings.
In the File Path column, select the column header that corresponds to the parts files' names. (In the following example, the parts files' names corresponds to the Part name column in Excel, so select Part name.)
Check Relative path, and copy and paste into the text box the path where the parts files are stored .
(5) Configure Part basic property.
-
-
- Check Using Excel column and map information from the Excel to part properties.
-
-
-
- Uncheck Using Excel column to manually customize part information.
-
(6) Configure Part extended property. For example, check Size, Drawing and other extended properties, and they will be attached to the corresponding parts.
(7) Click Import in the top-right corner.
If any parts fail to import, click OK to view the failure reasons. Error information can also be exported to Excel for easy reference.
(8) Return to the part list to view the imported parts.

