

-
Products
Overview Products

-
2D Cutting
-
Tube Cutting
-
3D Cutting
-
Intelligent Welding
-
Intelligent Cutting Head
-
Industrial Automation
-
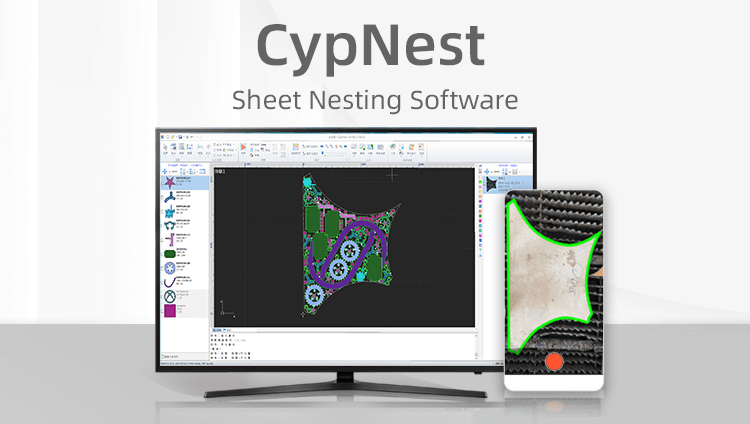
Industrial Software
-
Combination
-
Combination
BOCHU New Product -
Combination
BOCHU New Product -
Controller
BOCHU New Product -
2D Cutting Head
Tube Cutting Head
3D Cutting Head
Consumables
BOCHU New Product -
Servo
BOCHU New Product -
Industrial 4.0
-
- Support
- About
- Online Store


- Software Download
- Manual
- Tutorial
- CloudNest
Function description
For repeated production of fixed products where the same parts are used, it is recommended to save the parts to Parts Library. In subsequent production scheduling, simply specify the part names and quantities in an Excel sheet to quickly complete batch imports.
Operation steps
1.Check the parts, and right-click to access Add to Parts Library.

2.Click New Root Directory to create a folder, and then click OK to confirm the addition.

3.Navigate to Settings → Nest Manage → Parts Library to view the added parts.

Note: You can add attributes such as Material, Thickness, and Gas to the list for easier search and use.
4.Return to the Job interface, and click Batch Import Part in the Add Parts drop-down menu.

5.Select Part library import.

6.Copy the information from the Excel sheet (including the header row) and paste it into the text box.

7.Configure Part Library Params. In Drawing ID column, select the column corresponding to parts' names (e.g., Part name in this example).

8.Configure Part basic property.
-
- Select Use Excel Data to adopt the information from the Excel as part properties.

-
- Select Use Parts Library Data to adopt the information from Parts Library as part properties.

-
- Select Batch Custom to customize part properties manually.

9.Configure Part extended property. Select part extended properties as needed.

10.Click Import to transfer parts from Parts Library to CloudNest.

For any parts that fail to import, you can review the failure reasons. Additionally, the errors can be exported to an Excel file for convenience.


Function description
For repeated production of fixed products where the same parts are used, it is recommended to save the parts to Parts Library. In subsequent production scheduling, simply specify the part names and quantities in an Excel sheet to quickly complete batch imports.
Operation steps
1.Check the parts, and right-click to access Add to Parts Library.
2.Click New Root Directory to create a folder, and then click OK to confirm the addition.
3.Navigate to Settings → Nest Manage → Parts Library to view the added parts.
Note: You can add attributes such as Material, Thickness, and Gas to the list for easier search and use.
4.Return to the Job interface, and click Batch Import Part in the Add Parts drop-down menu.
5.Select Part library import.
6.Copy the information from the Excel sheet (including the header row) and paste it into the text box.
7.Configure Part Library Params. In Drawing ID column, select the column corresponding to parts' names (e.g., Part name in this example).
8.Configure Part basic property.
-
- Select Use Excel Data to adopt the information from the Excel as part properties.
-
- Select Use Parts Library Data to adopt the information from Parts Library as part properties.
-
- Select Batch Custom to customize part properties manually.
9.Configure Part extended property. Select part extended properties as needed.
10.Click Import to transfer parts from Parts Library to CloudNest.
For any parts that fail to import, you can review the failure reasons. Additionally, the errors can be exported to an Excel file for convenience.

