

-
Products
Overview Products

-
2D Cutting
-
Tube Cutting
-
3D Cutting
-
Intelligent Welding
-
Intelligent Cutting Head
-
Industrial Automation
-
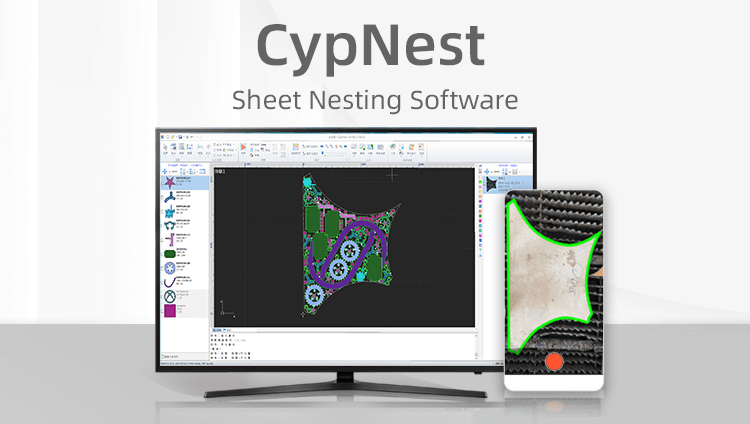
Industrial Software
-
Combination
-
Combination
BOCHU New Product -
Combination
BOCHU New Product -
Controller
BOCHU New Product -
2D Cutting Head
Tube Cutting Head
3D Cutting Head
Consumables
BOCHU New Product -
Servo
BOCHU New Product -
Industrial 4.0
-
- Support
- About
- Online Store


- Software Download
- Manual
- Tutorial
- CloudNest
Function Description
In the steel structure industry, Tekla is commonly used for modeling. To provide better services for the industry, CloudNest now supports importing *.nc1 files exported from Tekla.
For the detailed procedures of exporting NC1 files from Tekla, please refer to Export NC1 files from Tekla with part IDs and markings.
Operation Steps
1.Click 2D Part → the Add Parts drop-down menu → Import Steel Part → Import Steel Part (.nc1).

2.Choose Batch upload or Manual upload to select one or multiple *.nc1 files to import.

-
- Batch upload: Specify the relative storage path of the files in Relative path to enable batch processing of *.nc1 files, which is suitable for scenarios requiring bulk addition of *.nc1 part files.
- Manual upload: Click Upload nc1 file to select and upload *.nc1 part files manually, which is ideal for adding a small number of files (less than 200) quickly.

3.Set part information (material, thickness, and quantity).
-
- When options in the Part attribute column are selected, the part attributes from the *.nc1 file will be used first.

-
- When the Part attribute column is left blank, the custom part attributes set below will be used.

-
- Marking line identification: Select Both sides marking lines are recognized, Only the back marking line, Only the front marking line, or Both sides marking lines are not recognized.
- Marking line identification: Select Both sides marking lines are recognized, Only the back marking line, Only the front marking line, or Both sides marking lines are not recognized.

-
- Identify Text: Select Both sides marking text are recognized/Only the back marking text/Only the front marking text/Both sides marking text are not recognized.

4. Click OK to complete the import.

Function Description
In the steel structure industry, Tekla is commonly used for modeling. To provide better services for the industry, CloudNest now supports importing *.nc1 files exported from Tekla.
For the detailed procedures of exporting NC1 files from Tekla, please refer to Export NC1 files from Tekla with part IDs and markings.
Operation Steps
1.Click 2D Part → the Add Parts drop-down menu → Import Steel Part → Import Steel Part (.nc1).
2.Choose Batch upload or Manual upload to select one or multiple *.nc1 files to import.
-
- Batch upload: Specify the relative storage path of the files in Relative path to enable batch processing of *.nc1 files, which is suitable for scenarios requiring bulk addition of *.nc1 part files.
- Manual upload: Click Upload nc1 file to select and upload *.nc1 part files manually, which is ideal for adding a small number of files (less than 200) quickly.
3.Set part information (material, thickness, and quantity).
-
- When options in the Part attribute column are selected, the part attributes from the *.nc1 file will be used first.
-
- When the Part attribute column is left blank, the custom part attributes set below will be used.
-
- Marking line identification: Select Both sides marking lines are recognized, Only the back marking line, Only the front marking line, or Both sides marking lines are not recognized.
- Marking line identification: Select Both sides marking lines are recognized, Only the back marking line, Only the front marking line, or Both sides marking lines are not recognized.
-
- Identify Text: Select Both sides marking text are recognized/Only the back marking text/Only the front marking text/Both sides marking text are not recognized.
4. Click OK to complete the import.

